Task 8

Task 8


For this assignment we were asked to take 5 different portraits with one mimicking a professional shot that I found interesting. It was very difficult for me to find people to take photos of but I eventually found a few willing candidates. I struggled with that task because it happened to start raining on the day I was completing this assignment, so I was not able to capture many people outside. Ideally it would have been easier for me to take a variation of photos if the weather was cooperating.
Martina Daniele:
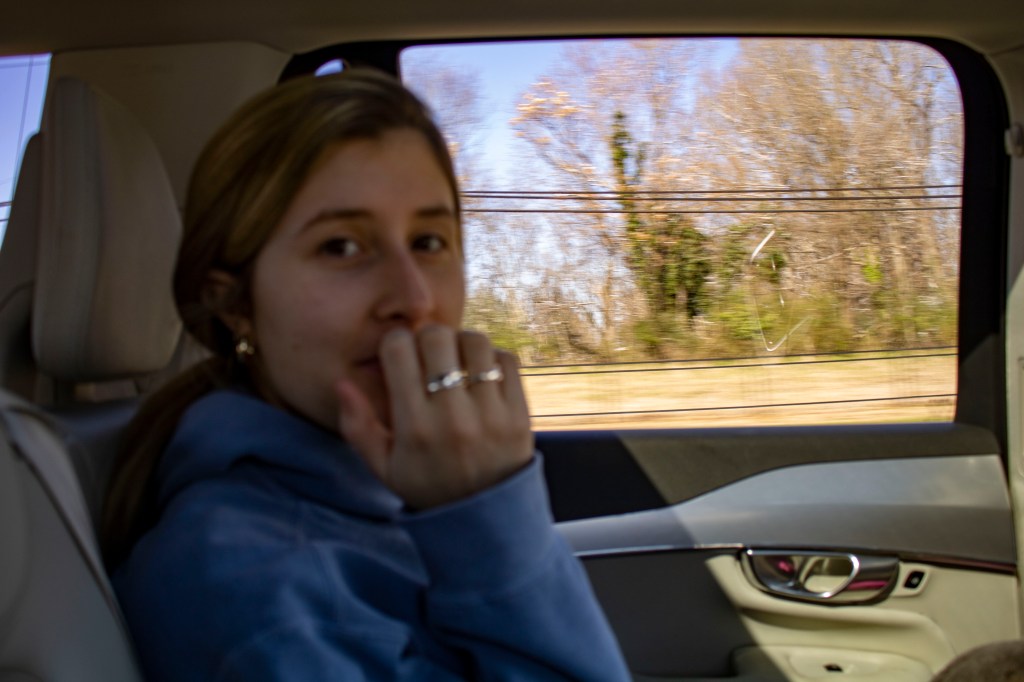
Martina was the first person I took a photo of for my portraits. I jokingly took a photo of her on our car ride to lunch after classes one afternoon. We were driving down West Front street and we are both sitting in the back seat of a car. Because we were in a moving vehicle there is less focus and more motion in the picture, but I ended up enjoying the say it turned out.
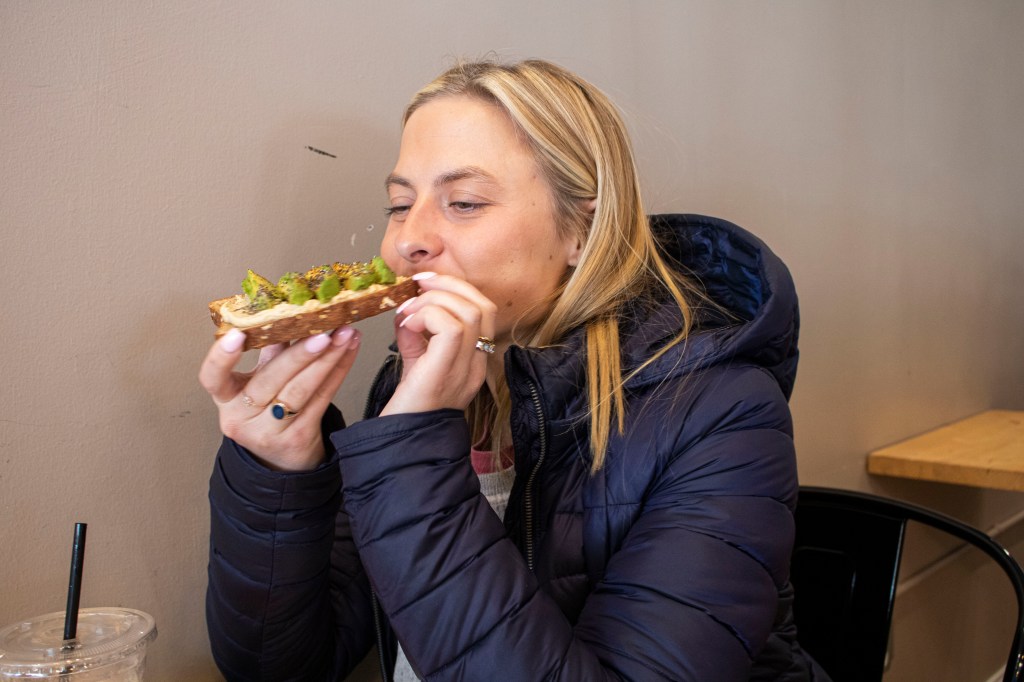
Brynn Bennett:
During our time at lunch I was able to take a few photos of the food and the coffee shop, but more importantly I was able to take this portrait of Brynn. It shows her getting ready to take a bite of her lunch, avocado toast, at The Blend and Co in downtown Burlington.
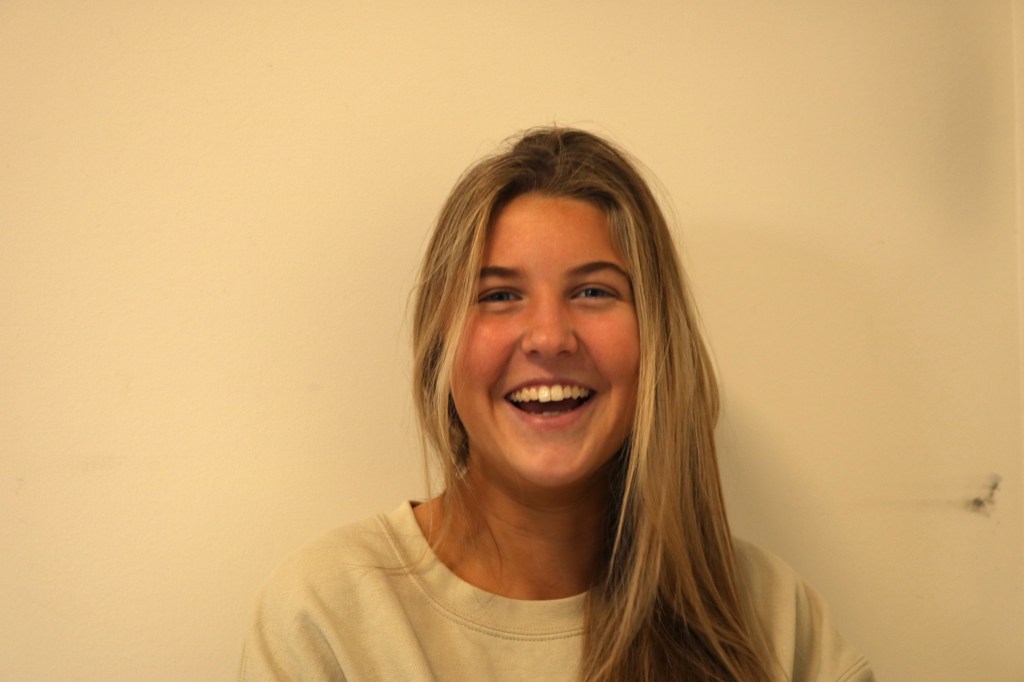
Ellie Blue:
Later in the afternoon I was able to capture my roommate waking up from a nap. She surprisingly said yes when I ask to take a picture. I discovered that talking to the subject of the photo when taking their picture often leads them to laugh, which is how I captured her looking so happy in this photo. This photo was taken in our dorm room in the East Neighborhood.

Will Gatchel:
I was able to frame Will in an interesting way when I saw him studying in the hallway. Because he was looking at a computer it gave me the opportunity to take a closer picture at a different angle. I took this picture from a higher angle with the camera looking down at him. I also took the change to zoom and position the camera closer to him for a different result. This photo was taken outside of my dorm room in the East Neighborhood.
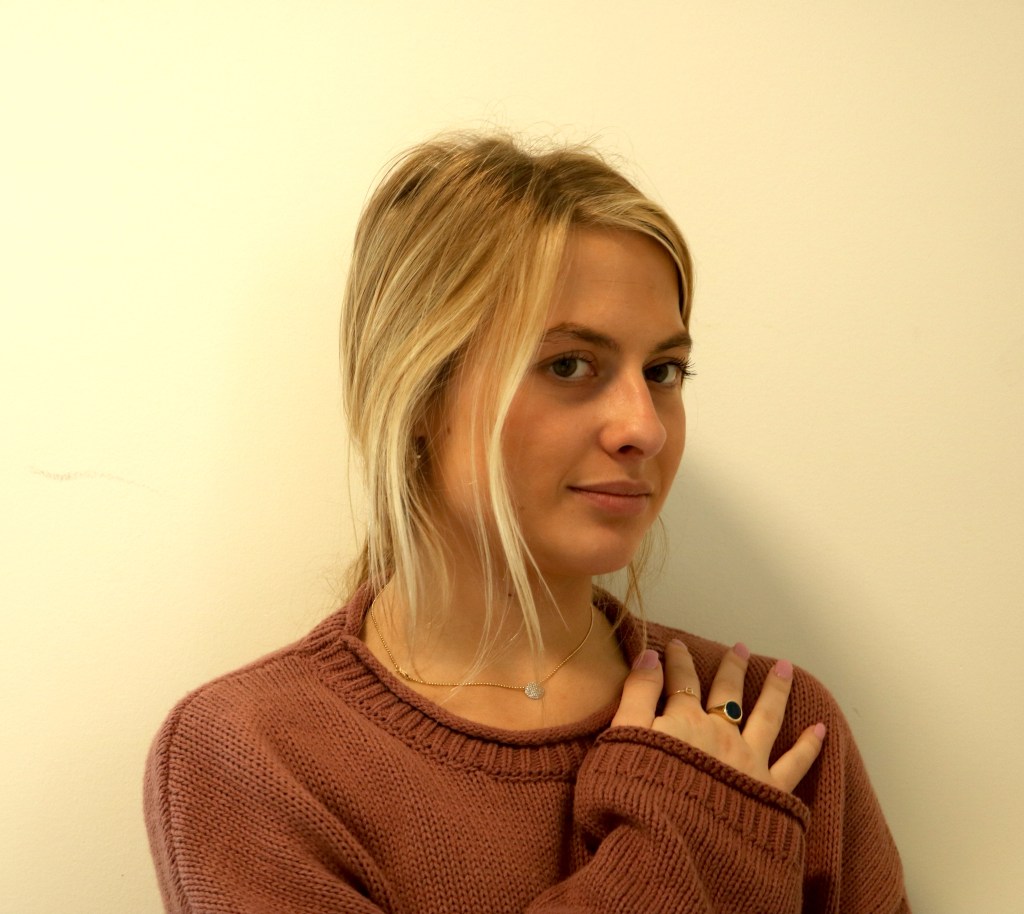
Brynn Bennett: Mimic Inspiration
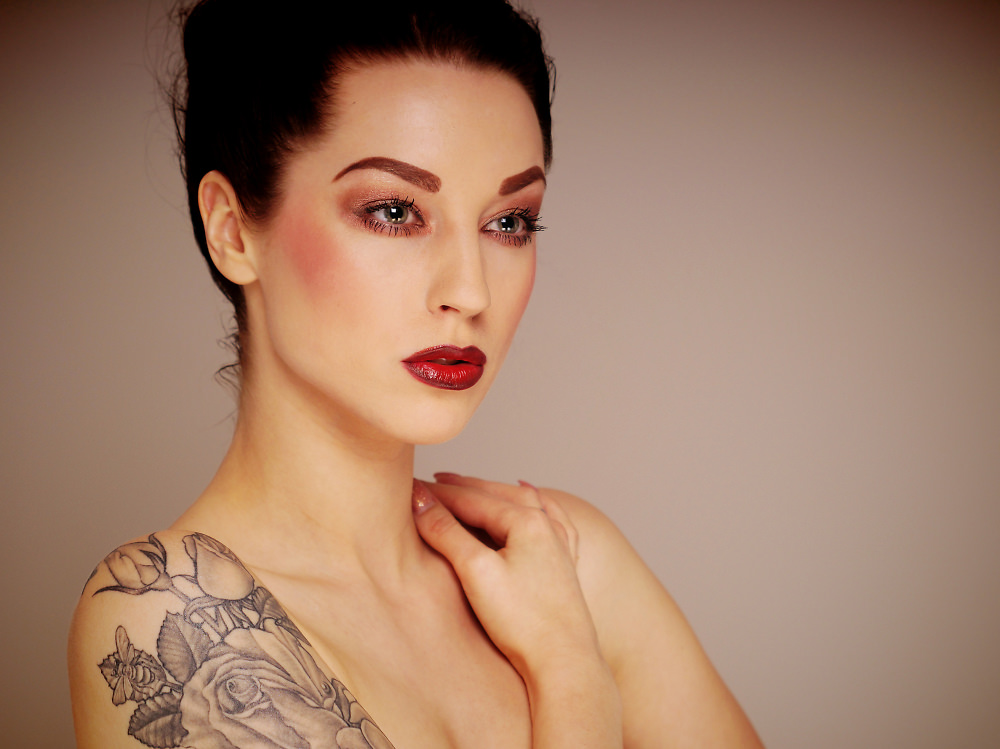
The portrait that I decided to mimic in my assignment was from the link, that Max gave us in the instructions, to “ephotozine.com” which linked 68 examples of portraits. Although the background wall is not the same color, I used similar angles, facial expressions and lighting to recreate the original photo. The image was published to the website by the user “Southwstudio”. I have attached the link so that you are able to view the article.
For this assignment we were instructed to choose a topic that we could create a story from. I had difficulties deciding on a topic and putting a plan in place, but eventually decided that I wanted to document different fast food restaurants within 3 miles of me. I was able to find over 20 places, but chose the top 6 that I thought would picture best. If we were given more time to work on this story I would have added more restaurants and photos of people eating there.

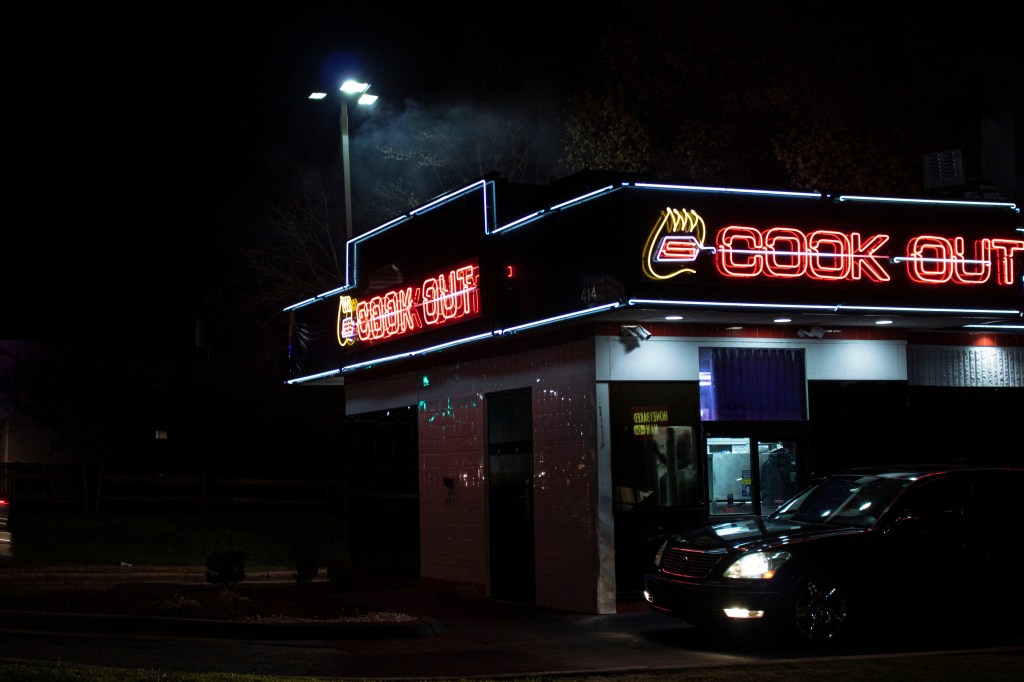
Cook Out was founded in Greensboro, North Carolina in the late 1980s. They opened many locations throughout North Carolina but only started to expand into different states in 2010. You are now able to find Cook Out restaurants in over 100 cities in America. The late night spot has become popular among many residents and students in the area.
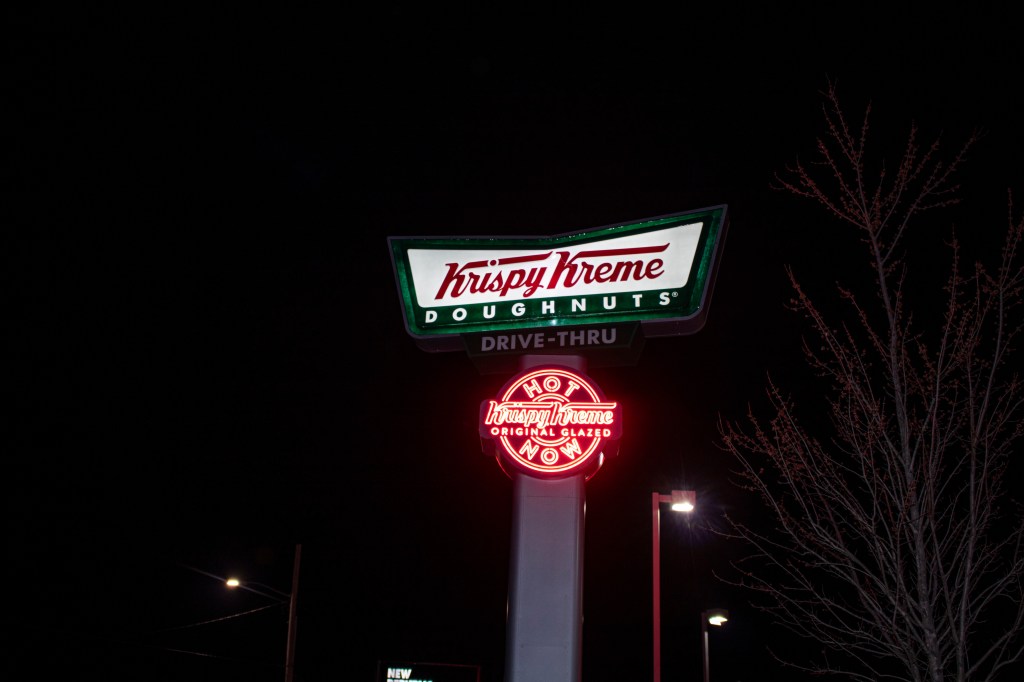

Krispy Kreme Doughnuts was founded in Winston Salem, North Carolina in the late 1930’s. After many ups and downs of business with changing food trends and diets, they have remained a strong company and chain. The privately owned company had an income of $518.714 million in 2016.

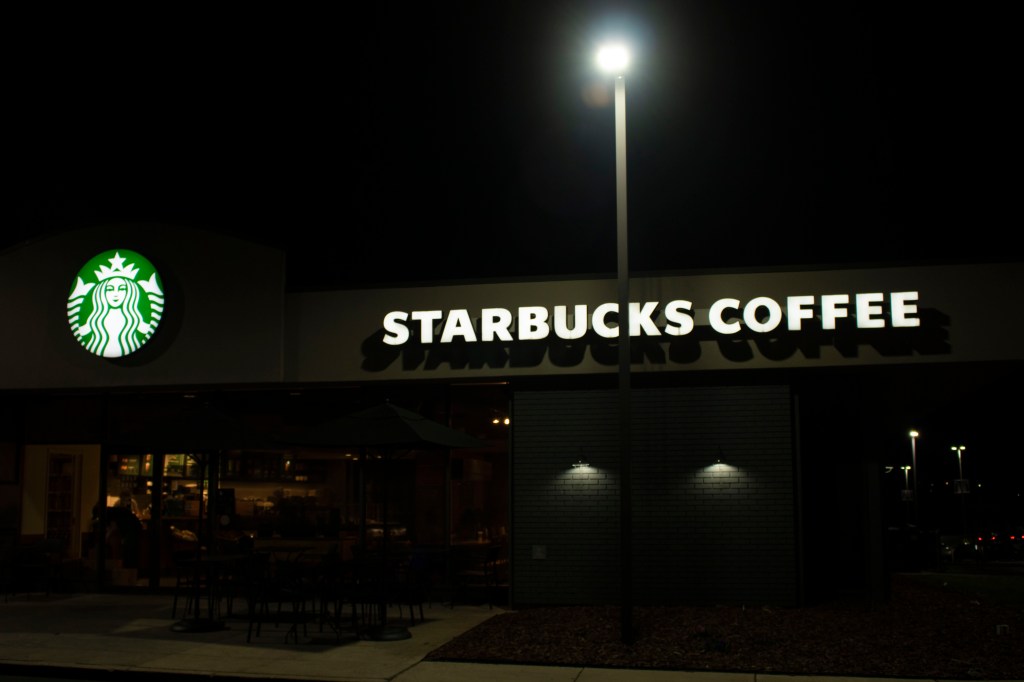
Starbucks is one of the most recognizable coffee shops in the world with over 28,000 locations. The chain has been open since 1971 and has continued to expand rapidly. The coffee shop offers products such as coffee, smoothies, tea and different food options. The public company brought an income of $24.71 billion in 2018.
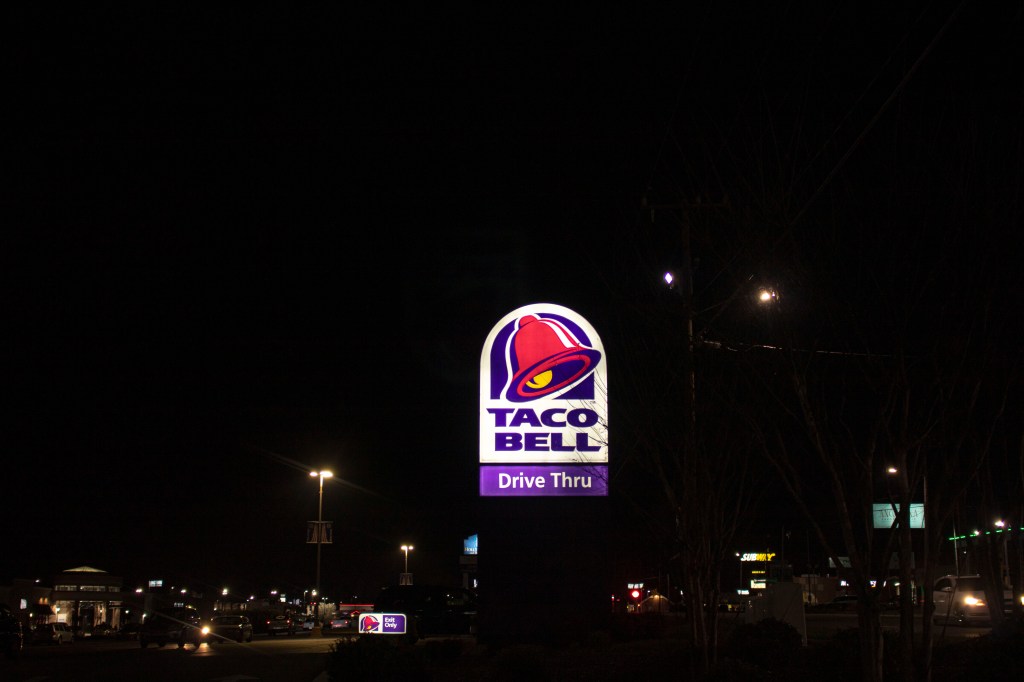

Taco Bell was founded as a Mexican and Tex-Mex food restaurant in 1962. The famous franchise is known for its partnership with companies like Mountain Dew to sell their exclusive drink “Baja Blast” and Frito-Lay to create the well known “Doritos Locos Tacos”. The company is known for its experimental and unique menu items. Taco Bell has over 7,000 locations across the world with a recorded income of $1.988 billion in 2015.
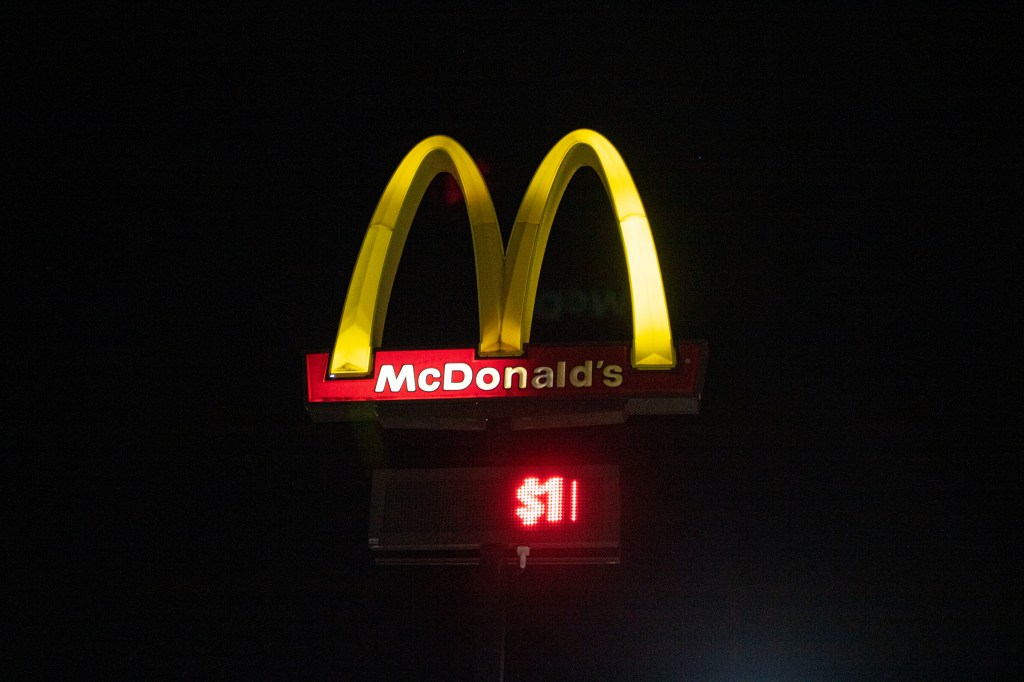

McDonalds has one of the most recognizable logo and one of the highest revenues of restaurant chains worldwide. As a company they serve around 70 million costumers everyday and provide a variety of menu options that cost roughly $1.00 making their food accessible to most. Even though they have had a decrease of sales and profit over the past 5 years, they still recorded an income of $21.076 billion in 2019.

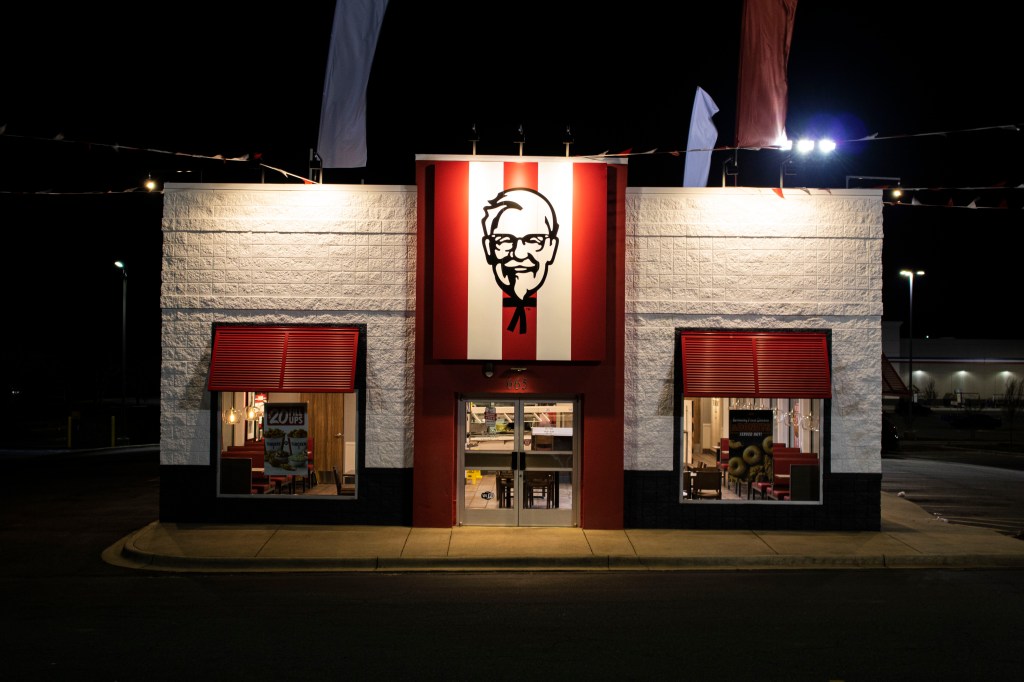
The last chain restaurant that I photographed was KFC, also known as Kentucky Fried Chicken, which was started by an entrepreneur during the Great Depression in 1930. Their logo is a recreation of the man who started the company, Harland Sanders (“The Colonel”), and is recognized by their slogan “It’s Finger Lickin’ Good”. The company has expanded to a worldwide restaurant and places behind McDonalds as the second-largest chain restaurant.
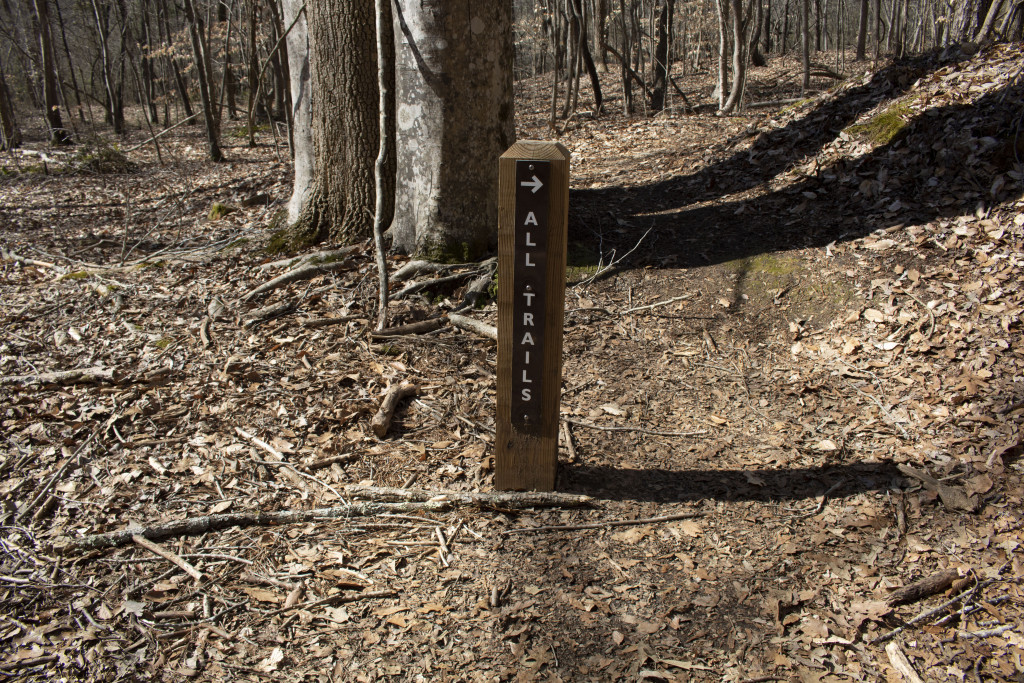
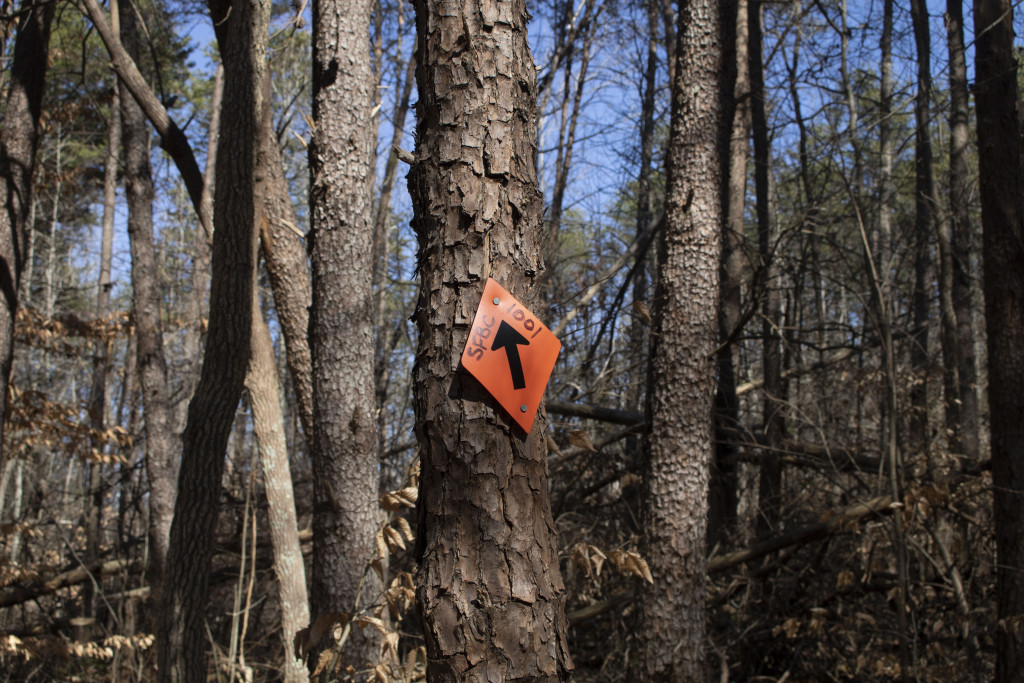
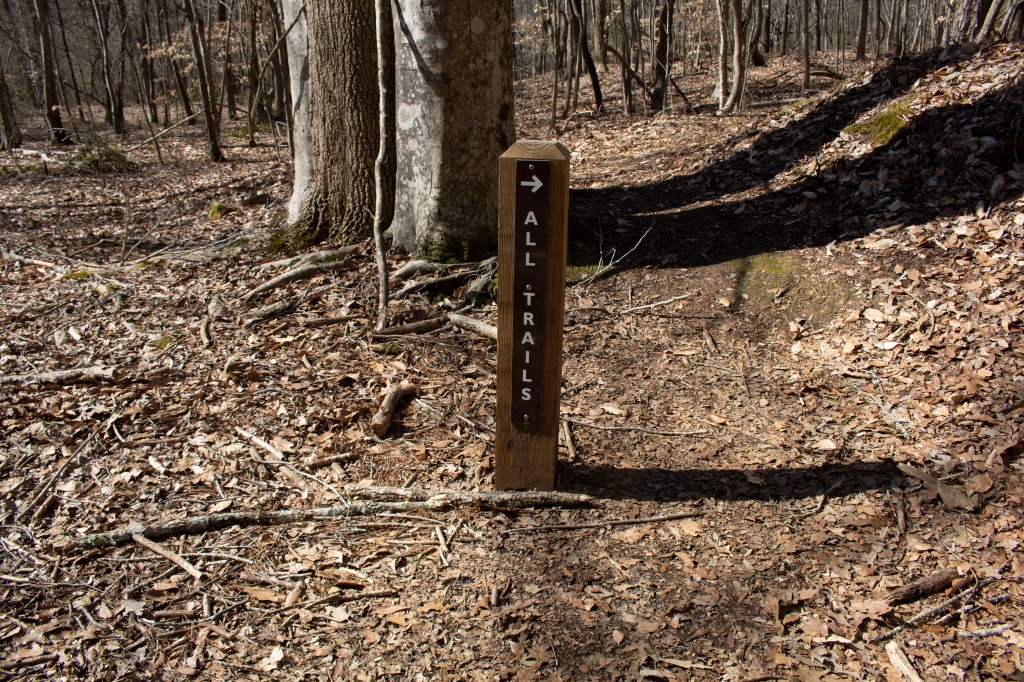
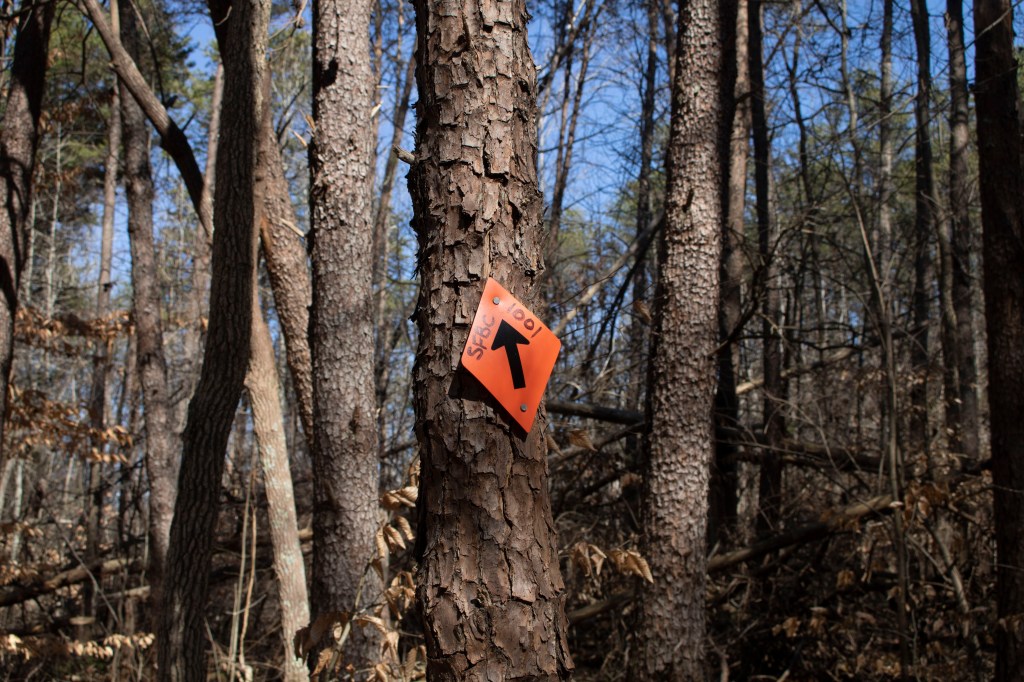
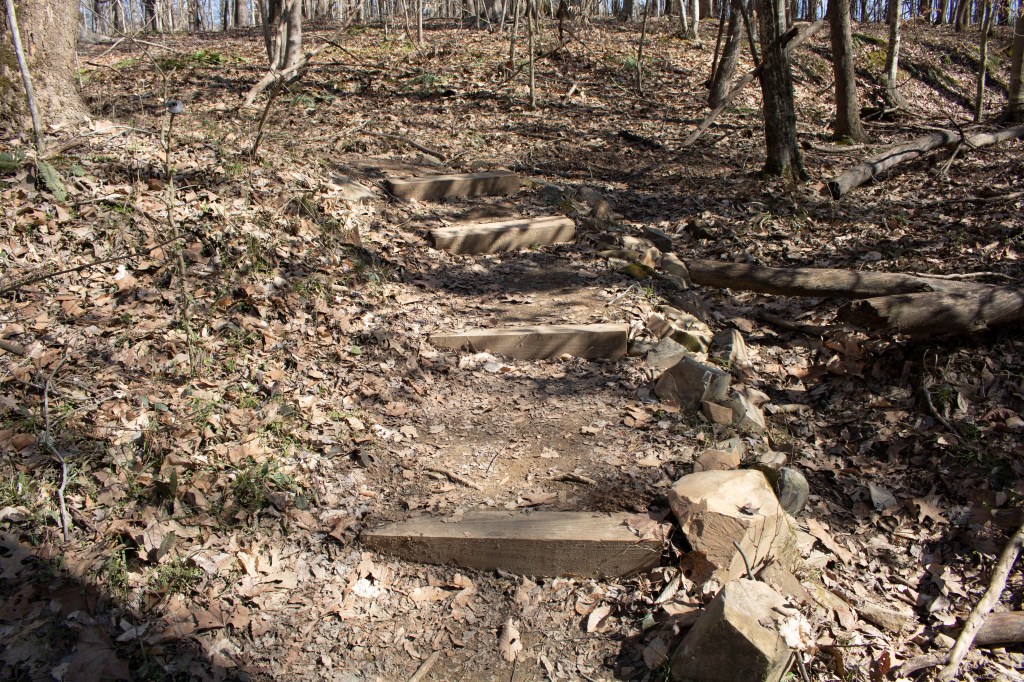
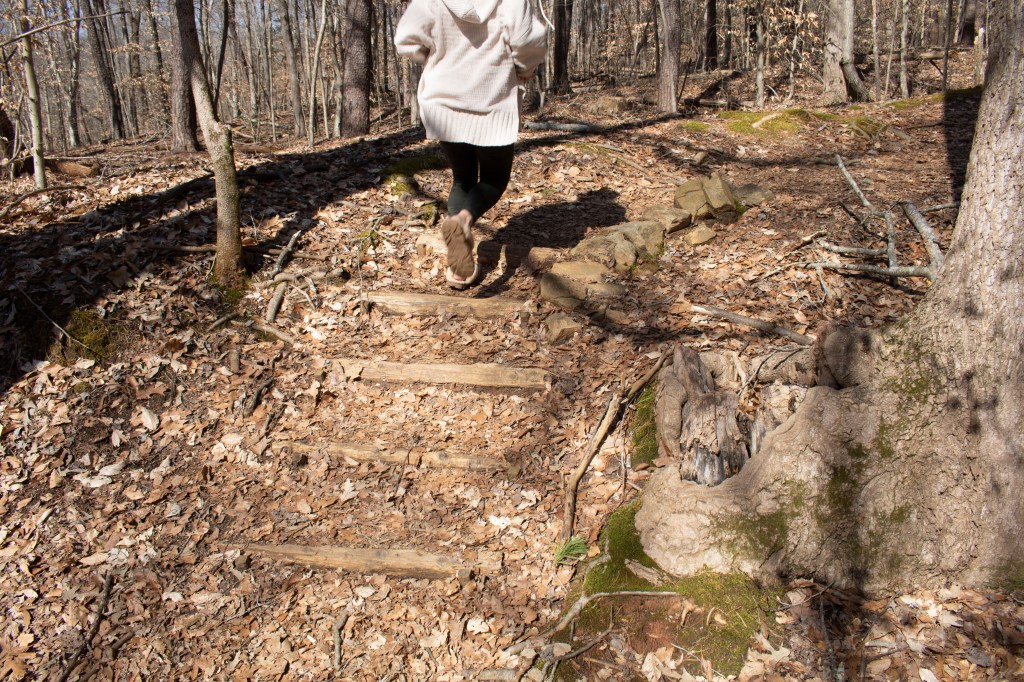
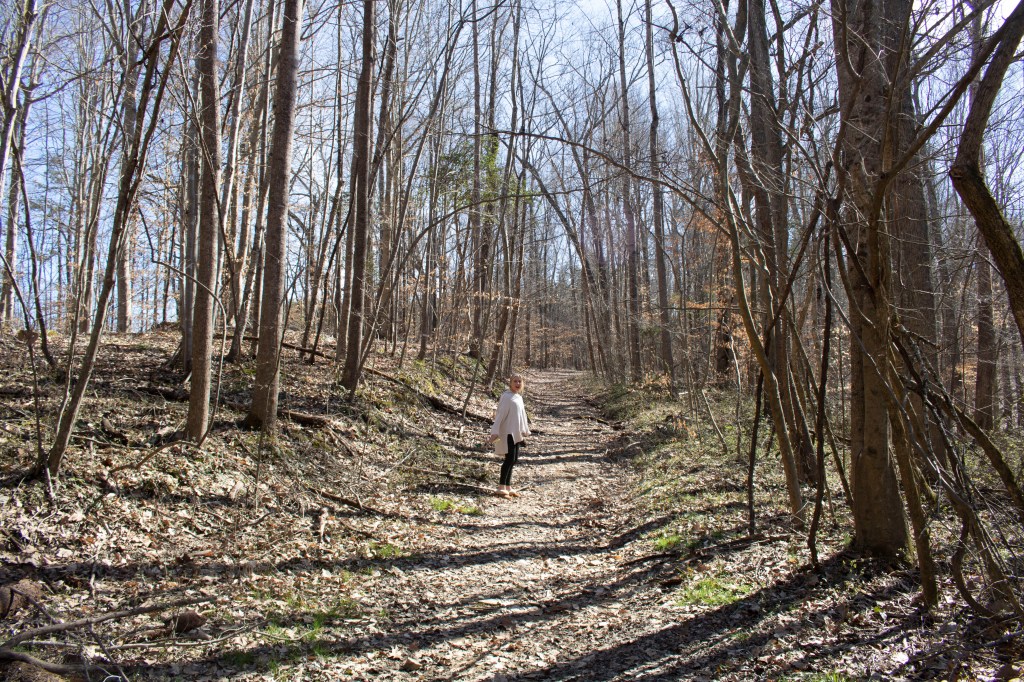
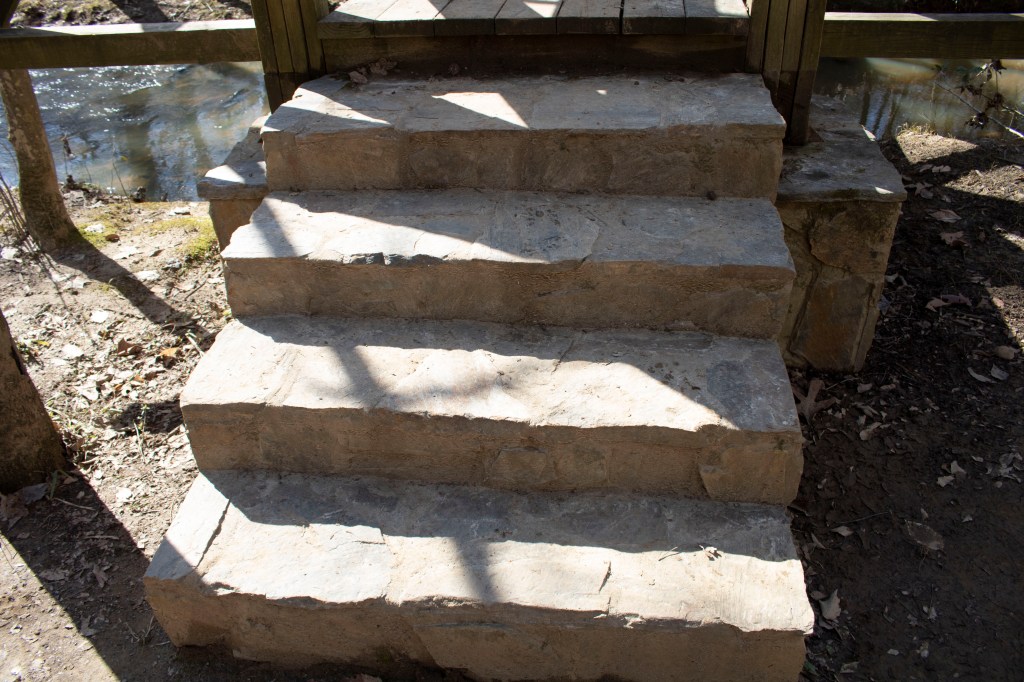
When editing this picture I corrected the white balance, color, exposure and contrast in order to make it look more clear in my opinion. I adjusted the white balance to use the white on the trail post in relation to the rest of the photo which changed the RGB balance of the picture. I was then able to adjust the colors to balance each other to my liking and create the correct values for the highlights of the picture. Finally I adjusted the contrast and exposure to fix the tones and light in the photo.
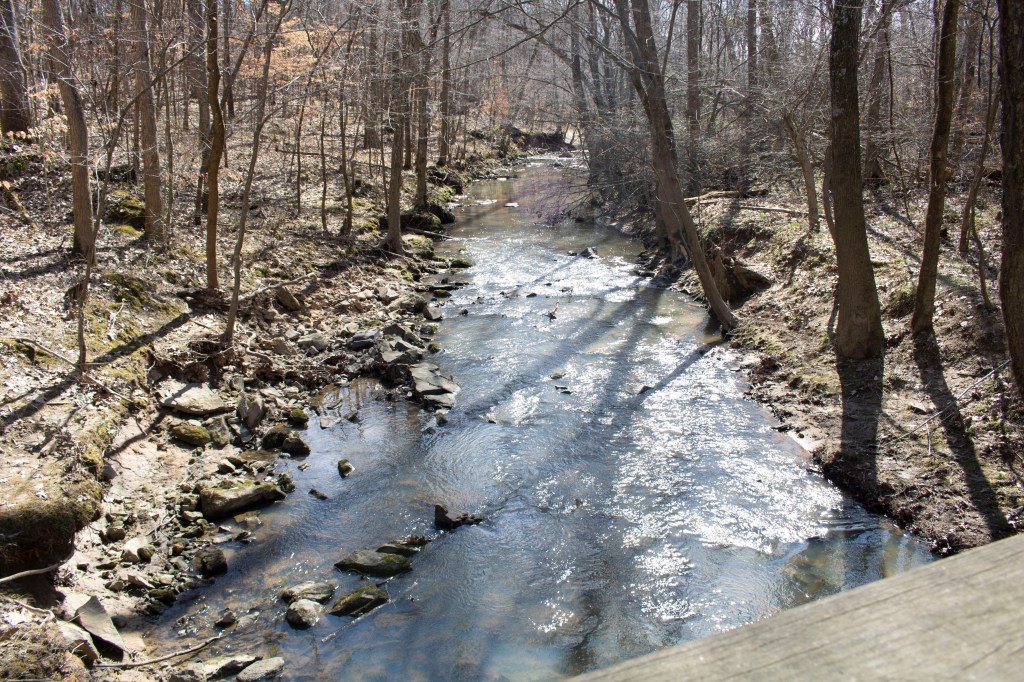
When editing this picture I adjusted the highlights, shadows, exposure and contrast of the picture to balance the appearance and make the colors pop. When adjusting the highlight and exposure of the picture it brought out the blue in the sky and the orange of the sky. I decided to change these because they were slightly dull in the first picture and I thought that they should stand out. When changing the contrast and shadows it adjusted the values of the trees both recognizing and deepening the shadowed areas and brighting the spots that were hit by the sunlight.

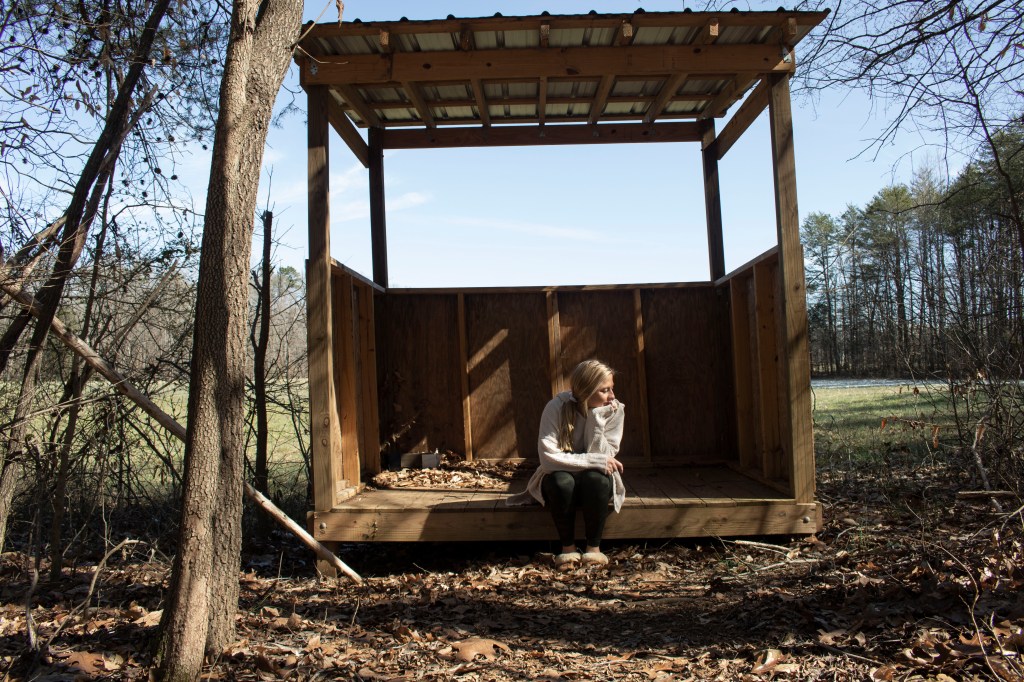
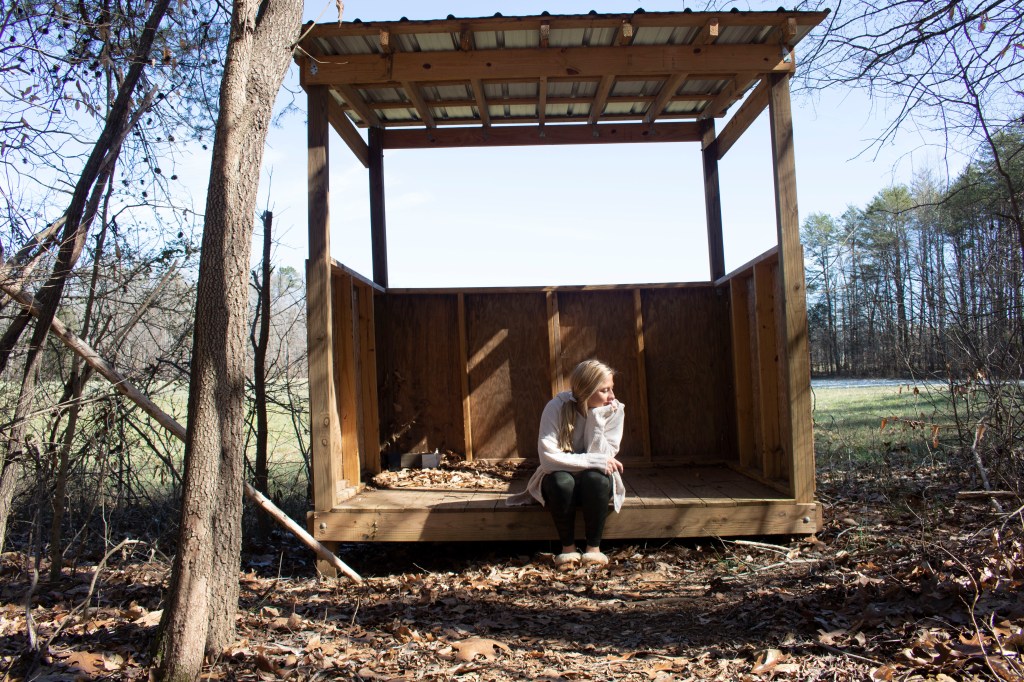
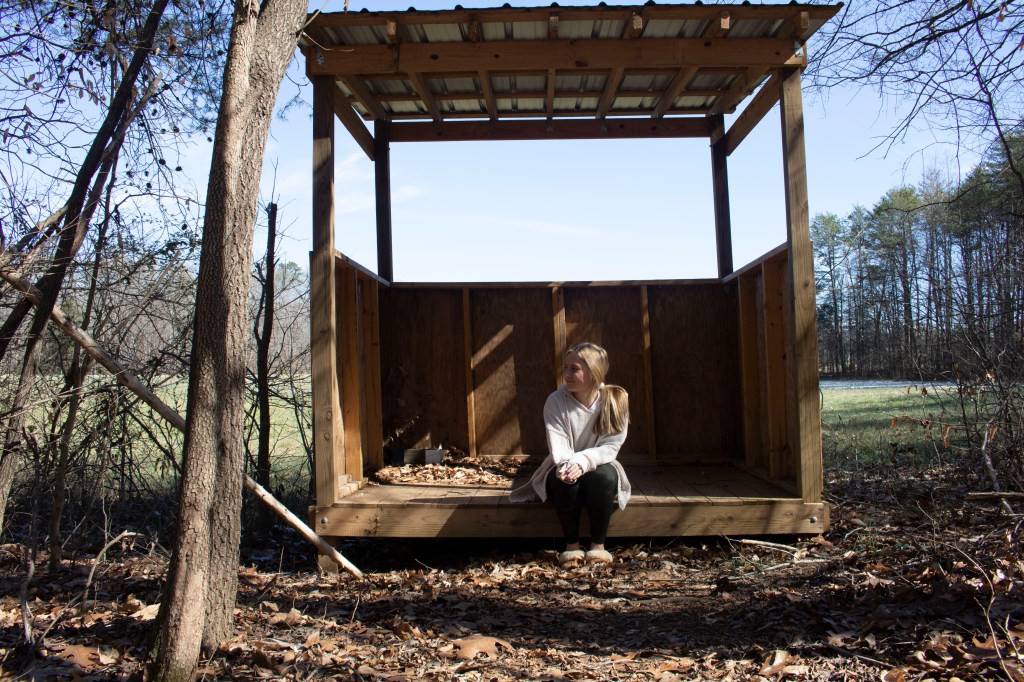
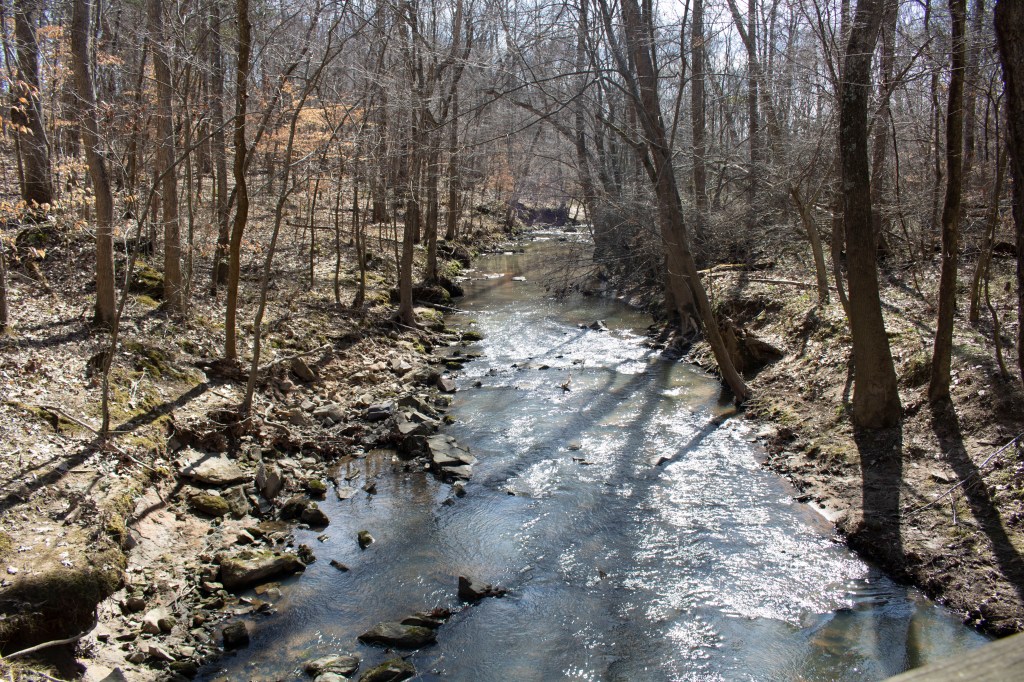
When editing this picture I adjusted the highlights, shadows, exposure and contrast of the picture to balance the appearance and make the colors deeper or brighter. When adjusting the highlight and exposure of the picture it brought out more of the blue color in the sky because it was over exposed in the original photo. I decided to change this in order to make the sky recognizable when looking at the photo. Because I changed the highlights and exposure I then had to adjust the contrast and shadows in order to make the photo more even and balanced. When changing the shadows and contrast it pulled forward the deep shadows caused by the trees and the hut giving the picture more depth.
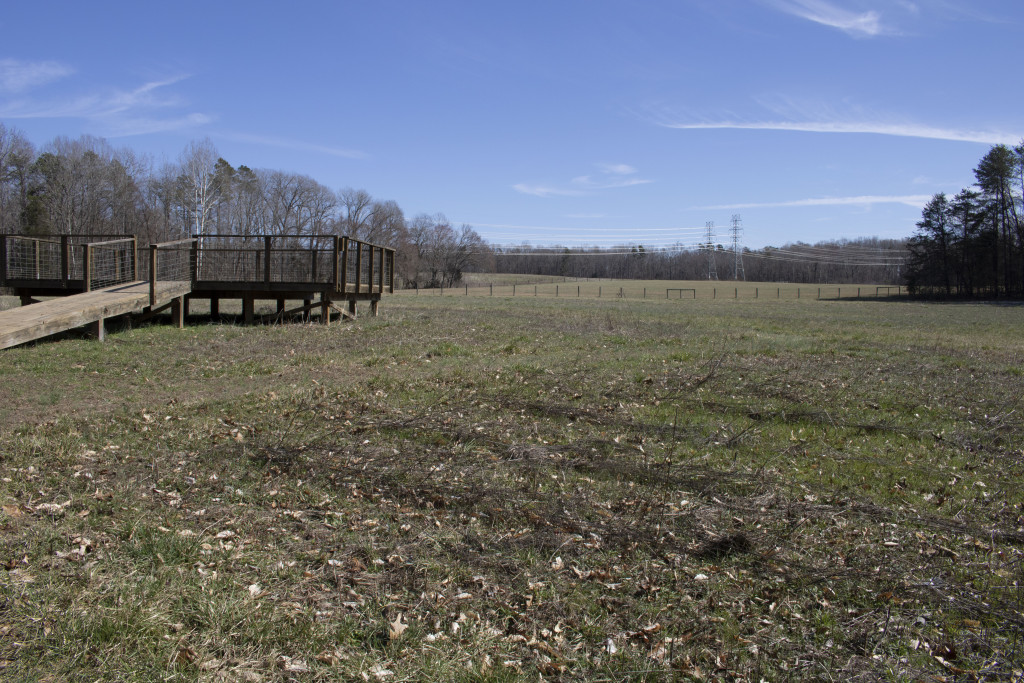

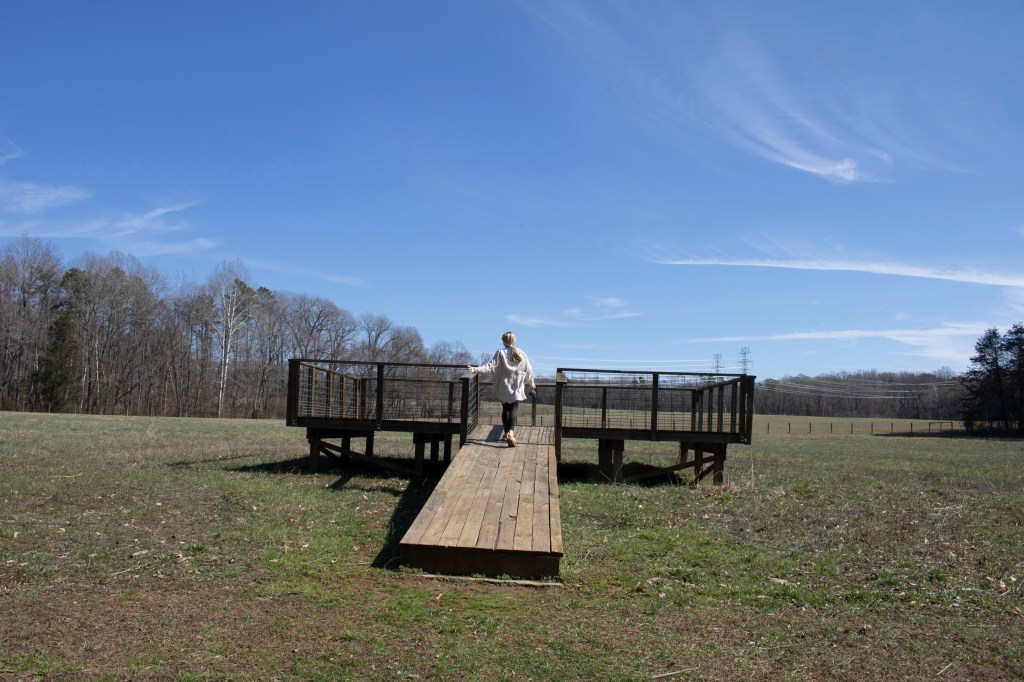
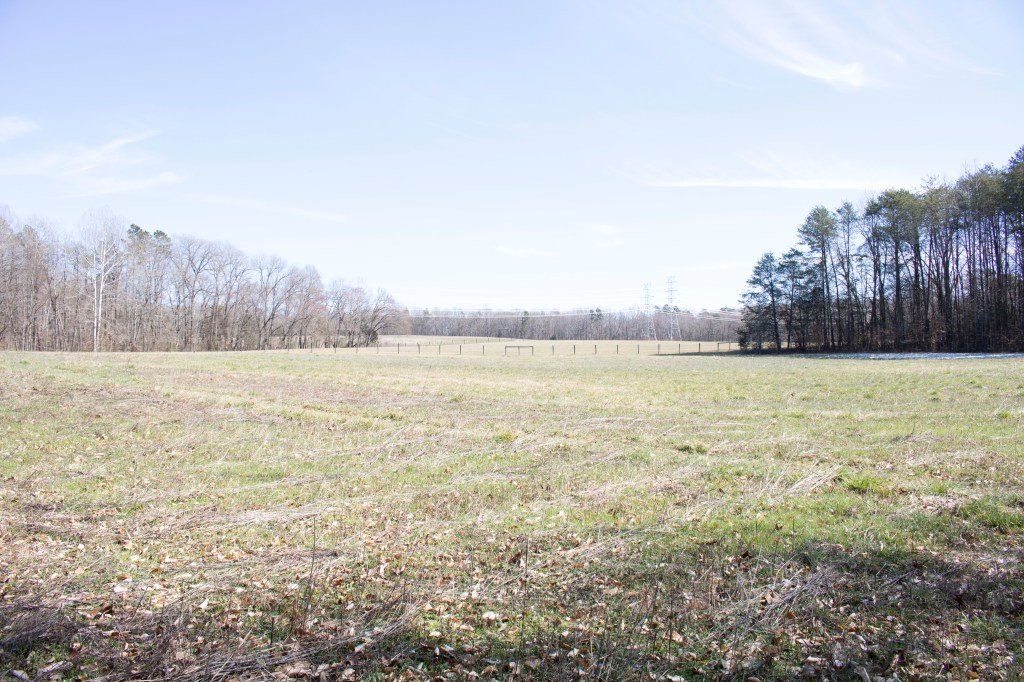
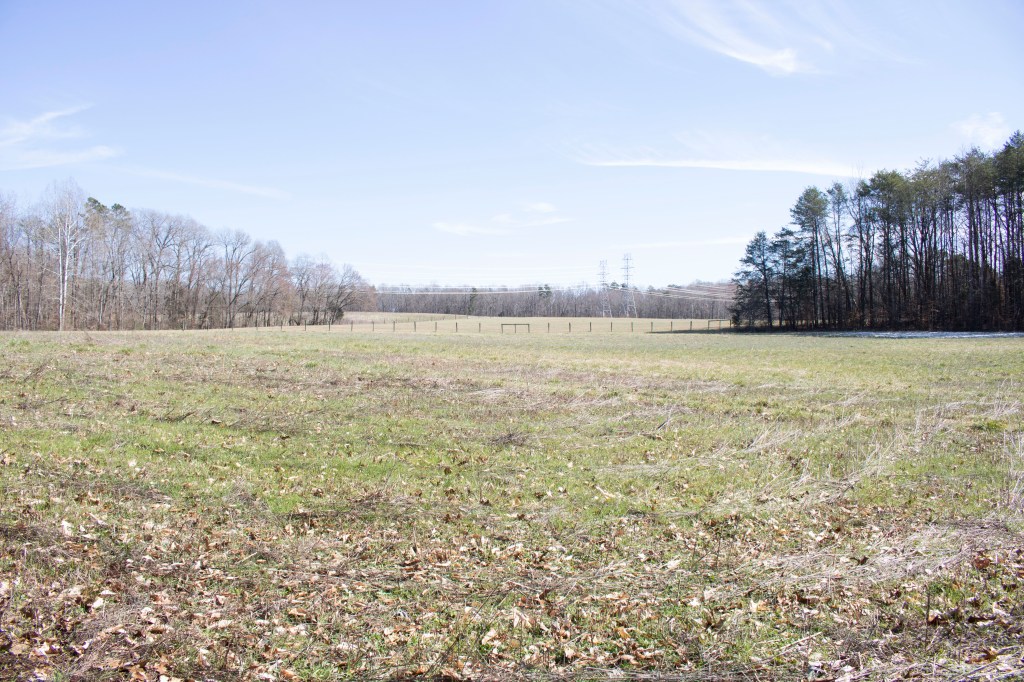
When editing this photo I changed the color balance, exposure and contrast in order to make it more visually appealing. In the original photo the lighting worked and made the picture decent, but the shot was not able to capture the colors of the field. I adjusted the green balance to bring out the grass and trees that were pictures. Also, I adjusted the blue in order to balance out the green tones that has effected the sky. Playing with the exposure brightened the sky, while the contrast deepened the shadows of the wood fixture.
Finally, I decided to crop this photo to show less of the field and more of the objects that are filling it. I got rid of the tree cluster of the right side because it added unnecessary items that took away from the focus which was intended to be the wooden structure.


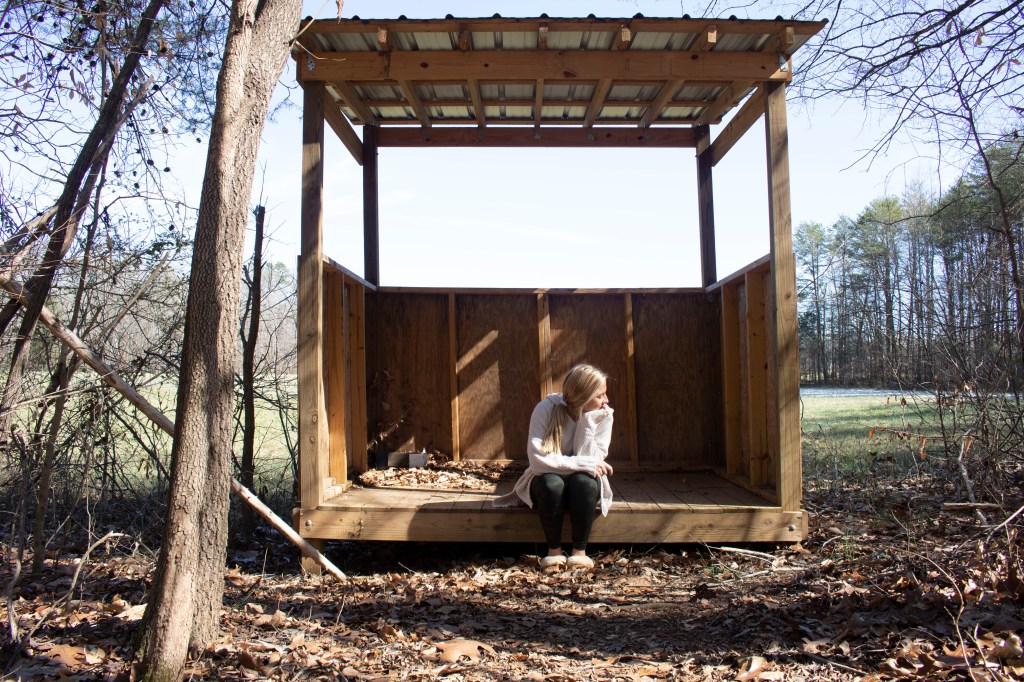
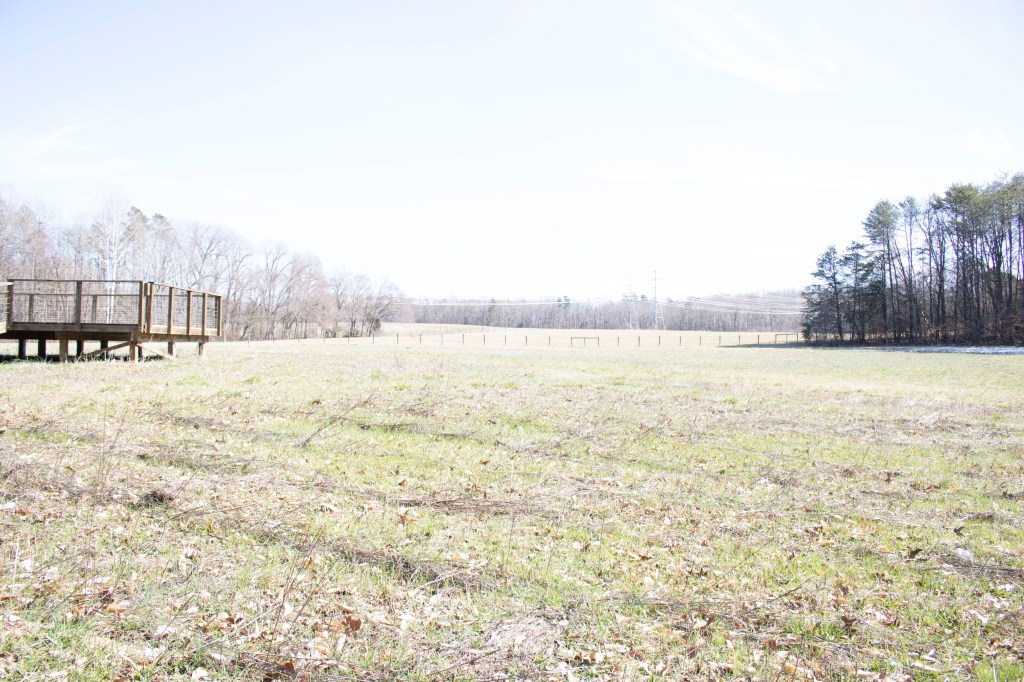
When editing this picture I adjusted the color balance, highlights, shadows, exposure and contrast of the picture to brighten the picture and make the colors deeper or brighter. While the blue in the original photo brightened the photo, the natural wood color and green colors were dulled. I made slight adjustments in order to make the wood more of a brown color and the green brighter. While making these changes i had to make sure that the white tones in the clouds stayed white and were not effected by the other colors.
When adjusting the highlight and exposure of the picture it brought out more of the green color in the grass and trees because it was dulled and lost in the original photo. I decided to change this in order to make the grass look more alive and recognizable when looking at the photo. I then had to adjust the contrast and shadows in order to make the photo more even and balanced with the change of other colors. When changing the shadows and contrast it pulled forward the deep brown color in the structure and trees. It also deepened the shadows caused by the structure making them a darker shade of grey than before and giving the picture more depth.
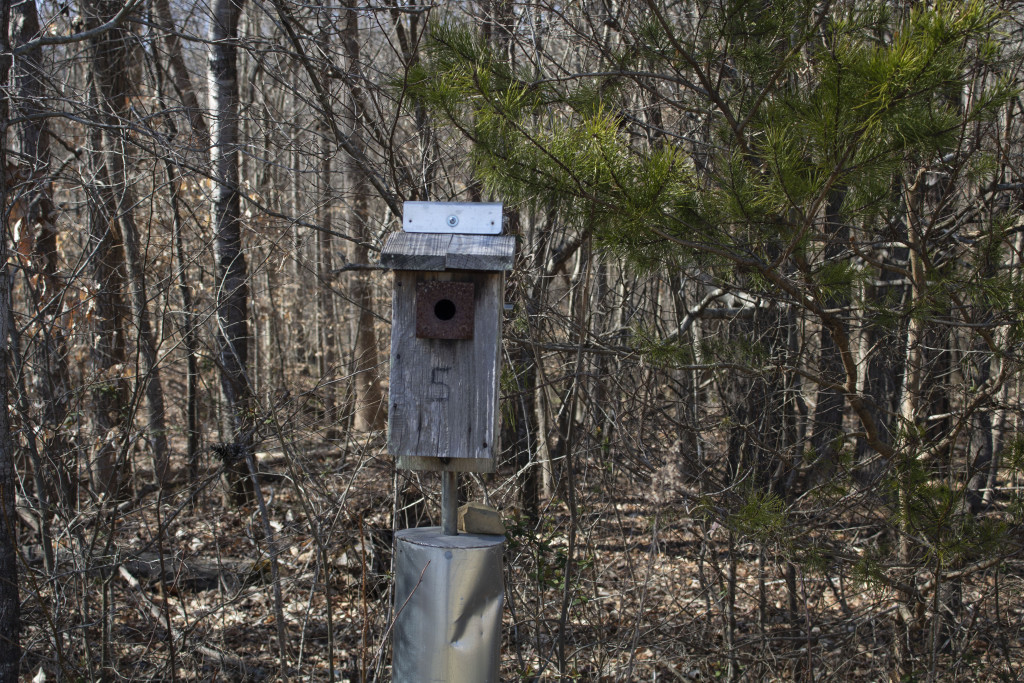
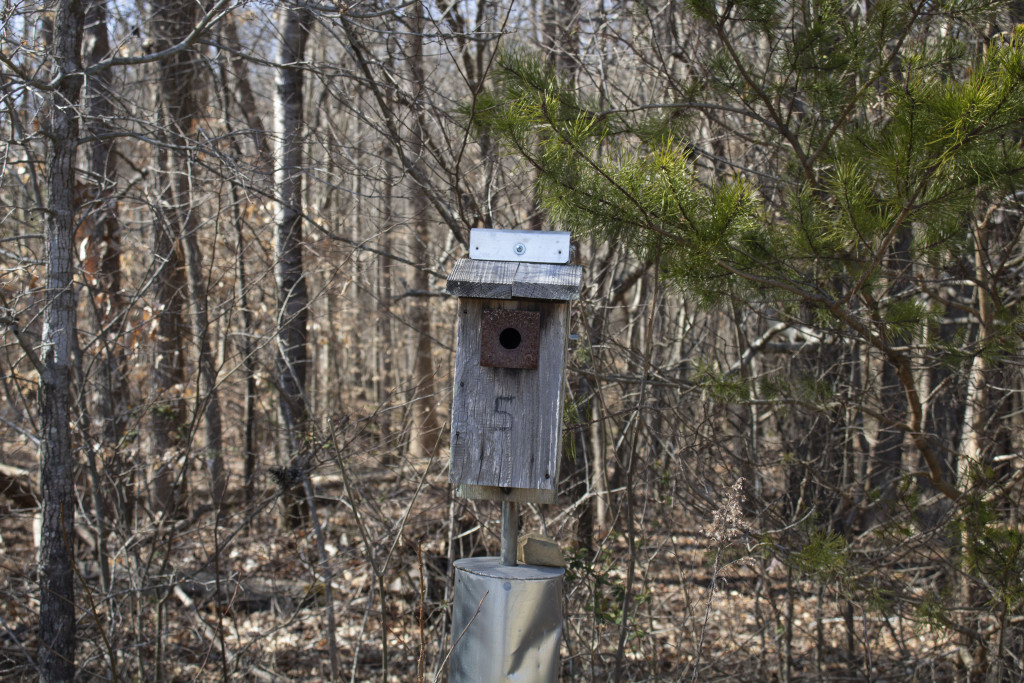
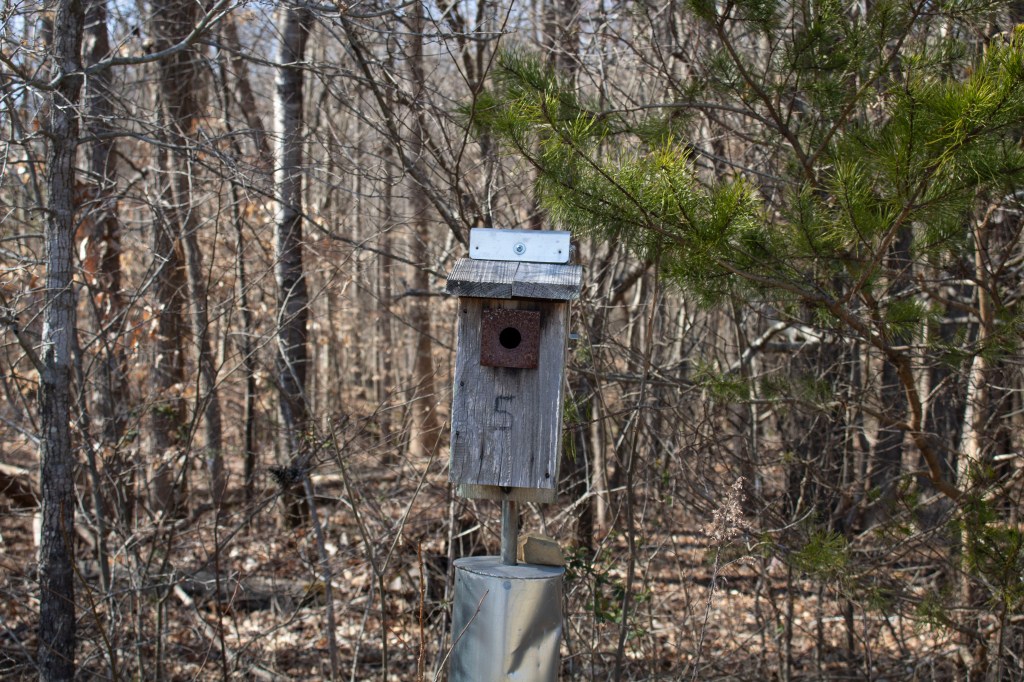
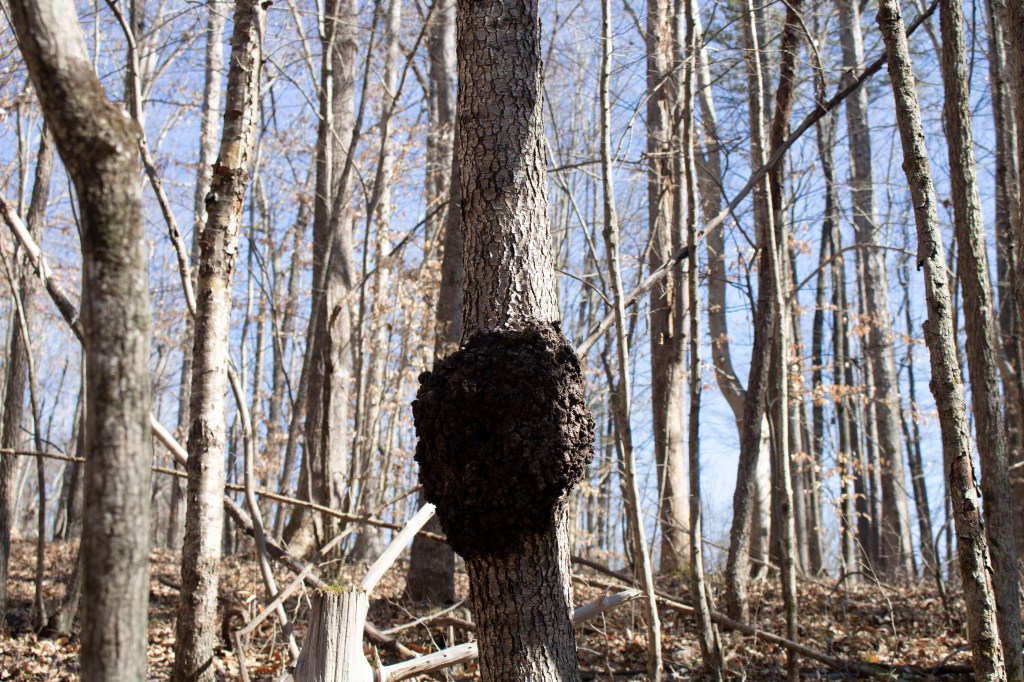
When editing this picture I adjusted the highlights, shadows, exposure and contrast of the picture to balance the appearance and make the colors deeper and more natural. When adjusting the highlight and exposure of the picture it brought out more of the green color in the trees that was lost in the original photo. I decided to change this in order to balance the gray and blue shades that overwhelmed the original photo. Because I changed the highlights and exposure I also had to adjust the contrast and shadows in order to make the photo more even and balanced. Making those adjustments ensured that the focus of the photo was the bird house and that is wasn’t over exposed from the previous adjustments.

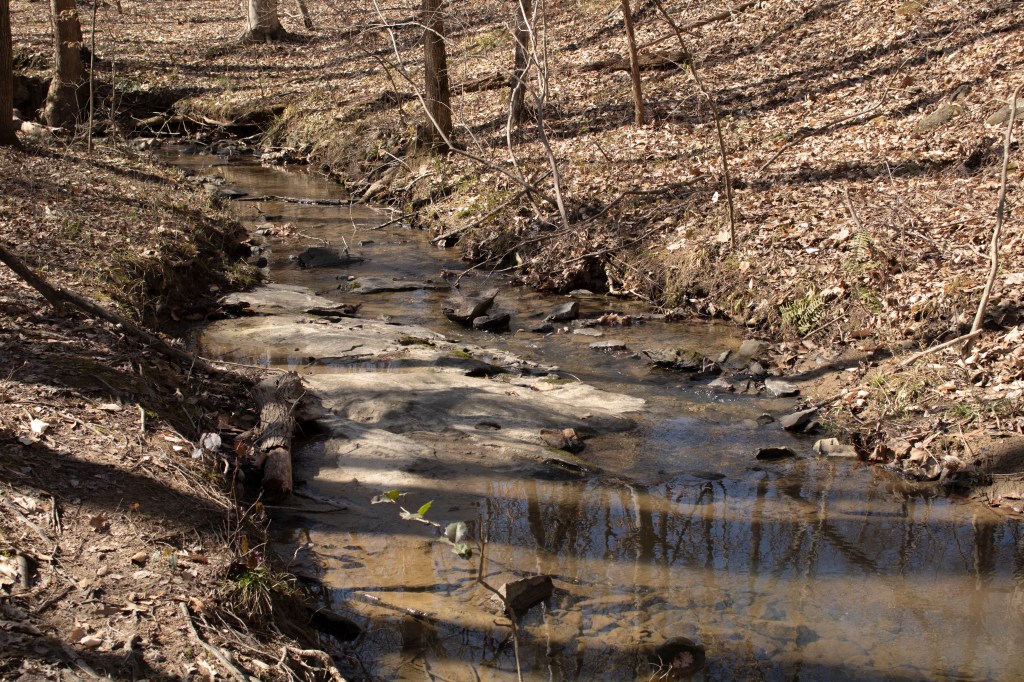
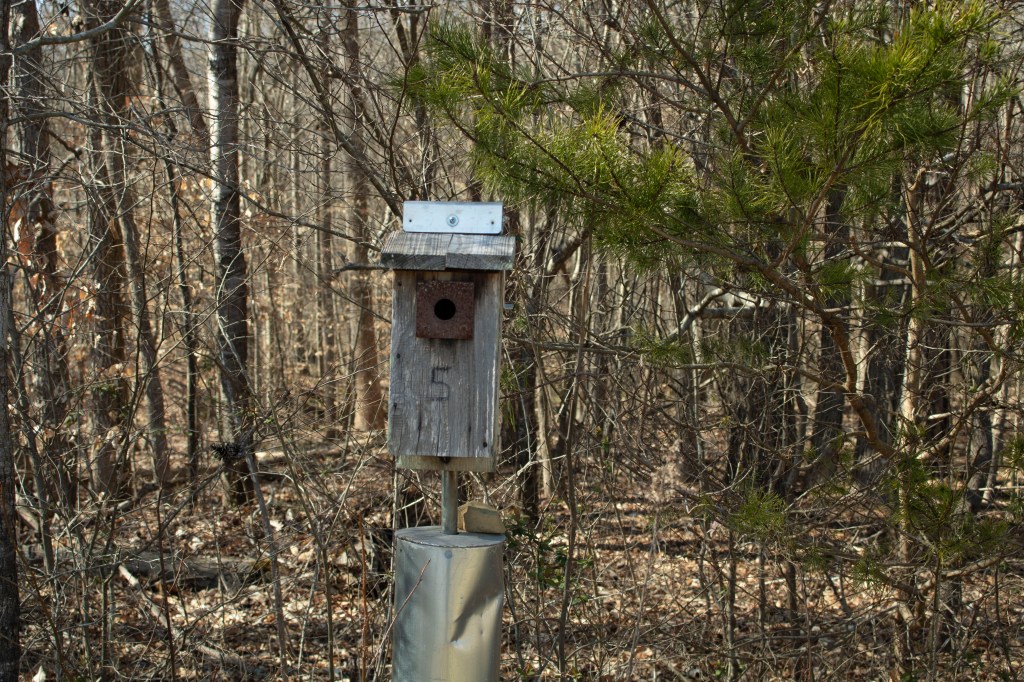
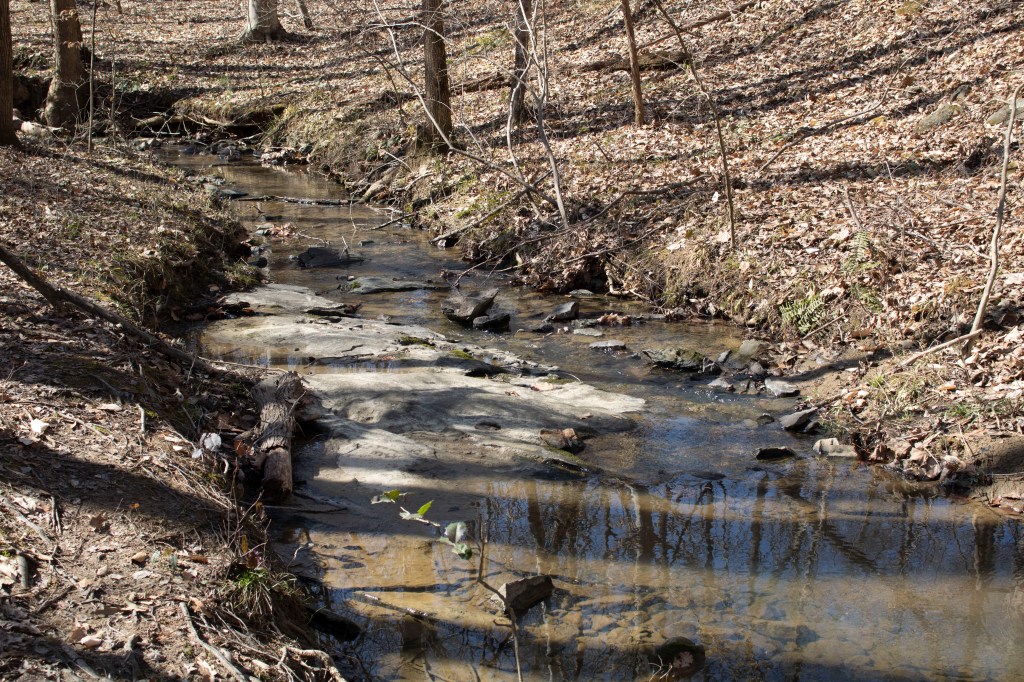
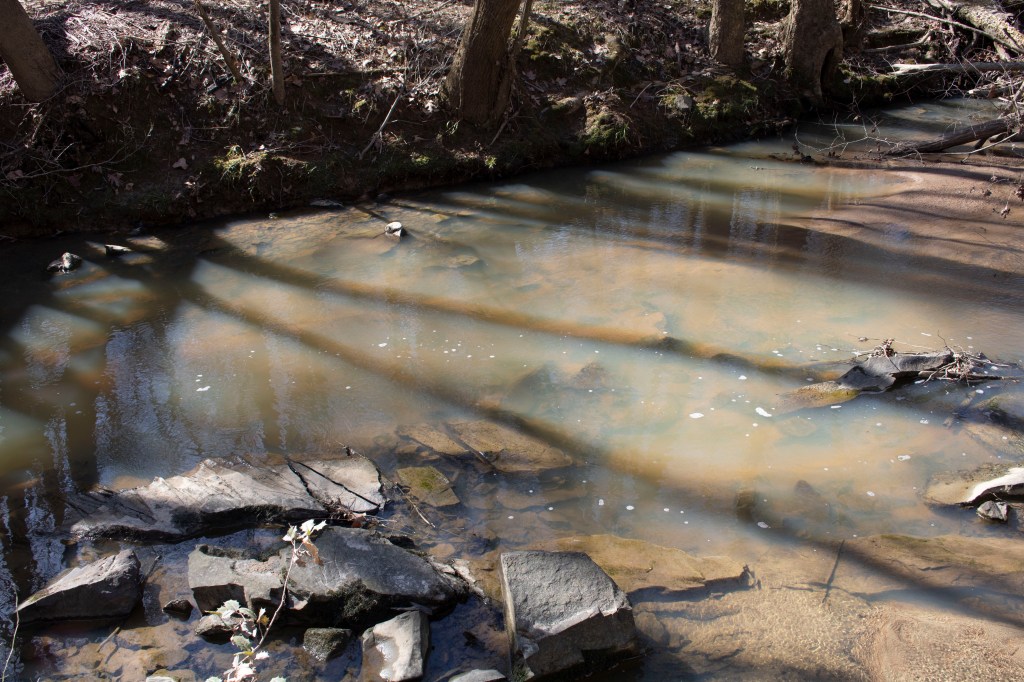
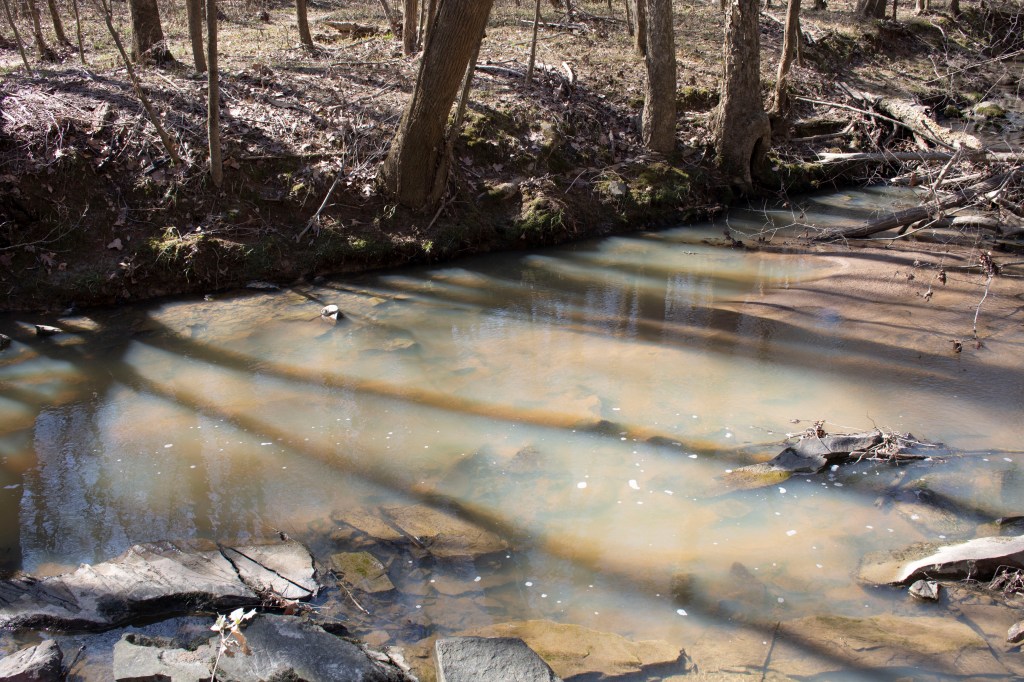
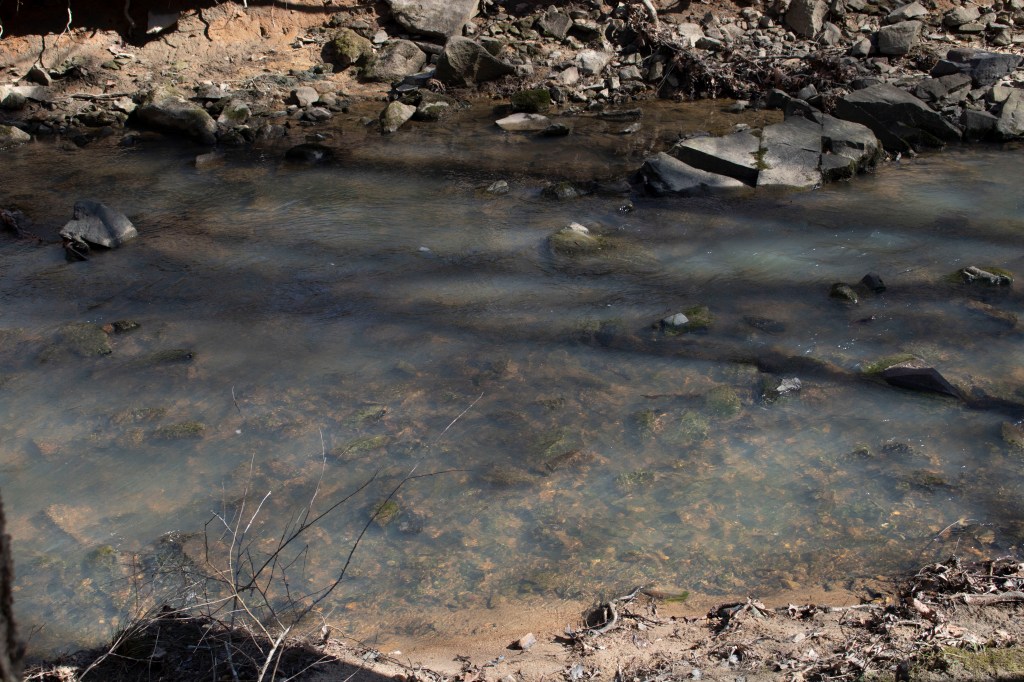
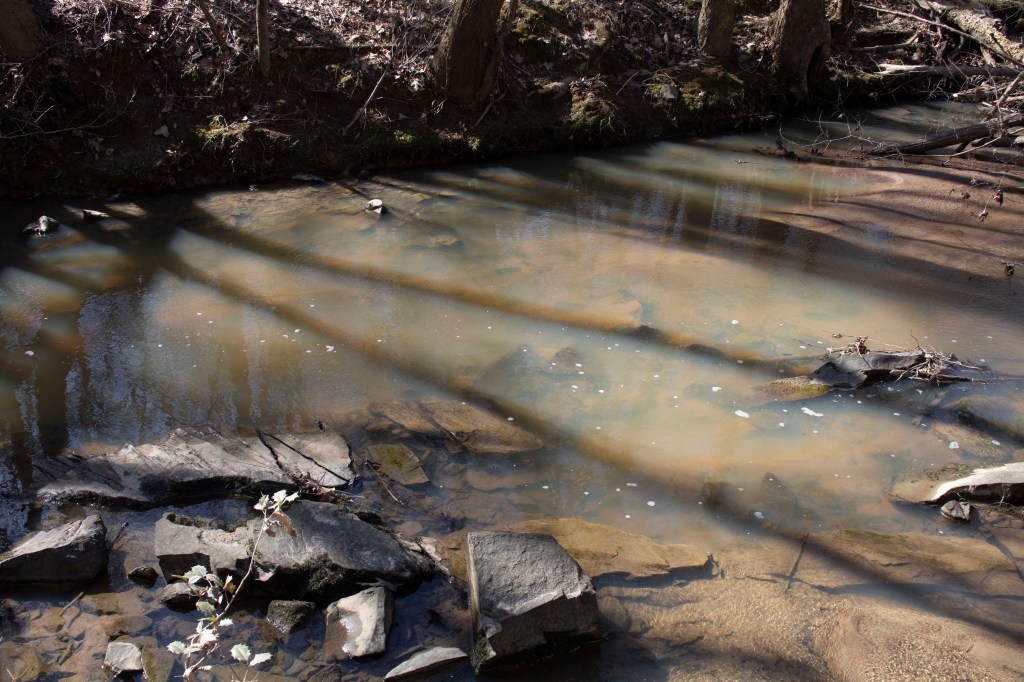
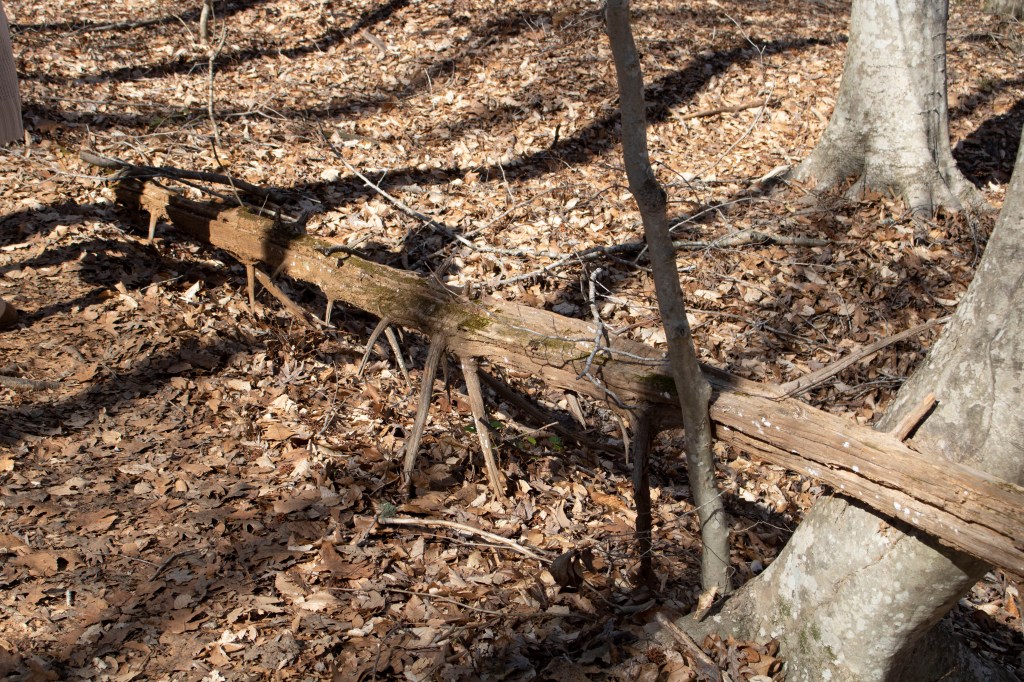
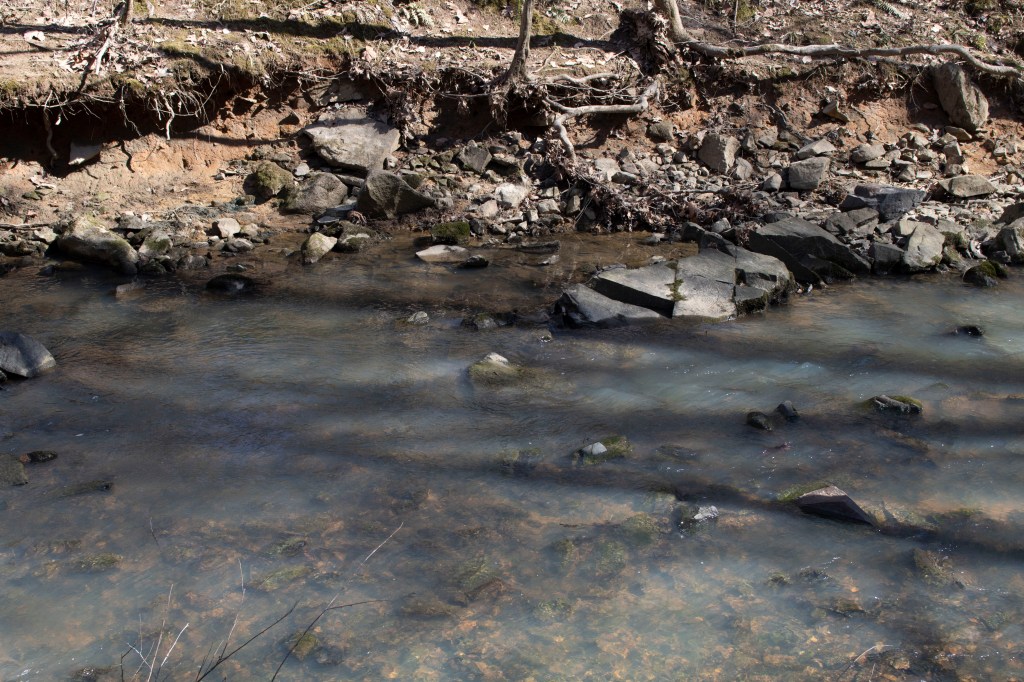
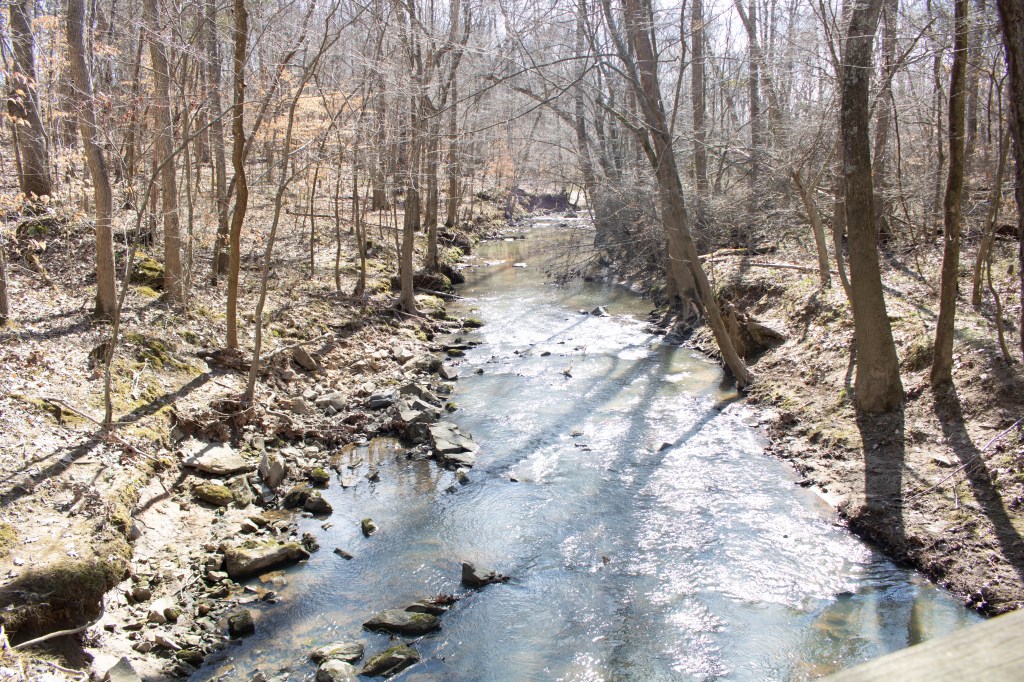
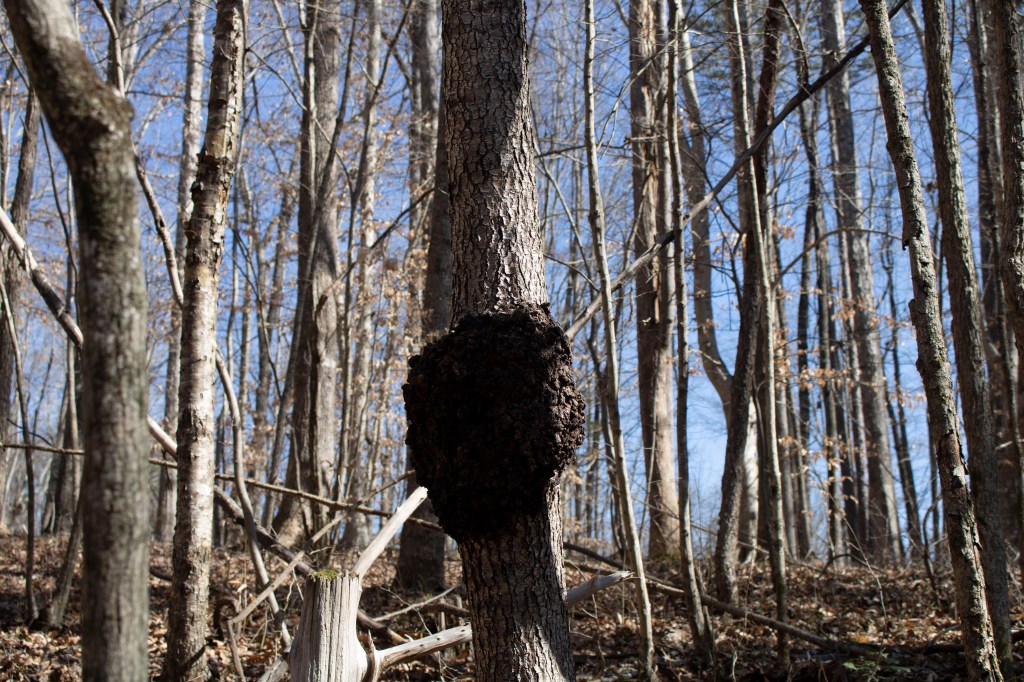
For this picture I made little adjustments which allowed me to only change the contrast and exposure. Because of the color and shadows that were captured in the original photo i didn’t have to enhance or change the balance of the colors, instead I only had to play with tones and contrast. Because the photo was slightly over exposed in the original I lowered the exposure to deepen the shadows and bring out the brown tones of the image. Finally, I had to balance the exposure with moving the contrast up slightly to bring forward the naturally highlighted objects in the picture such as the rocks and light reflection off of the water of the stream.
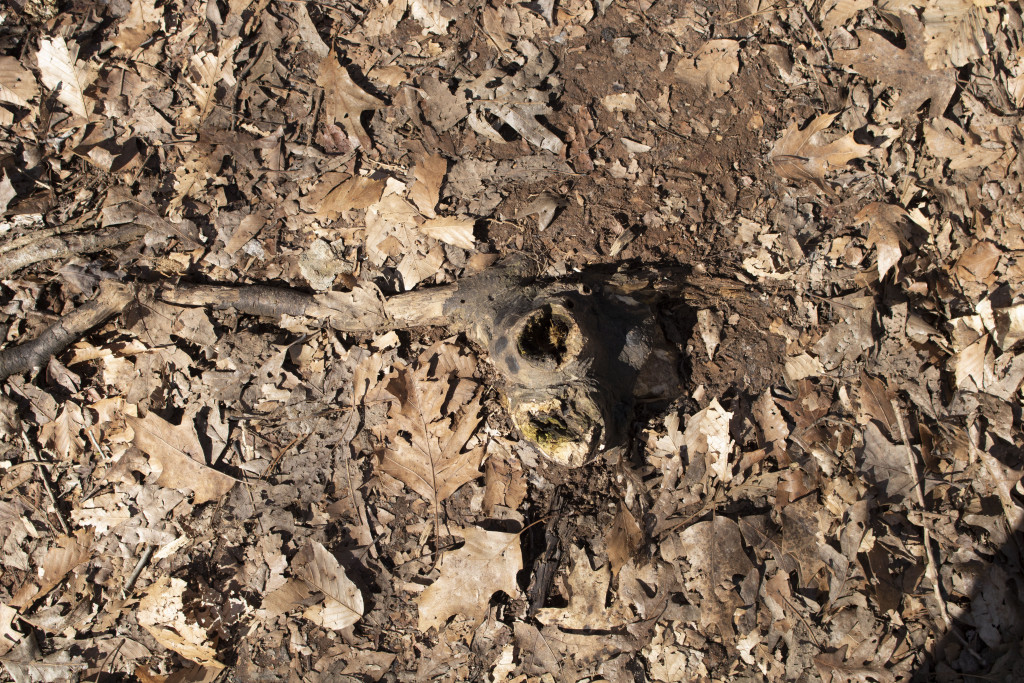

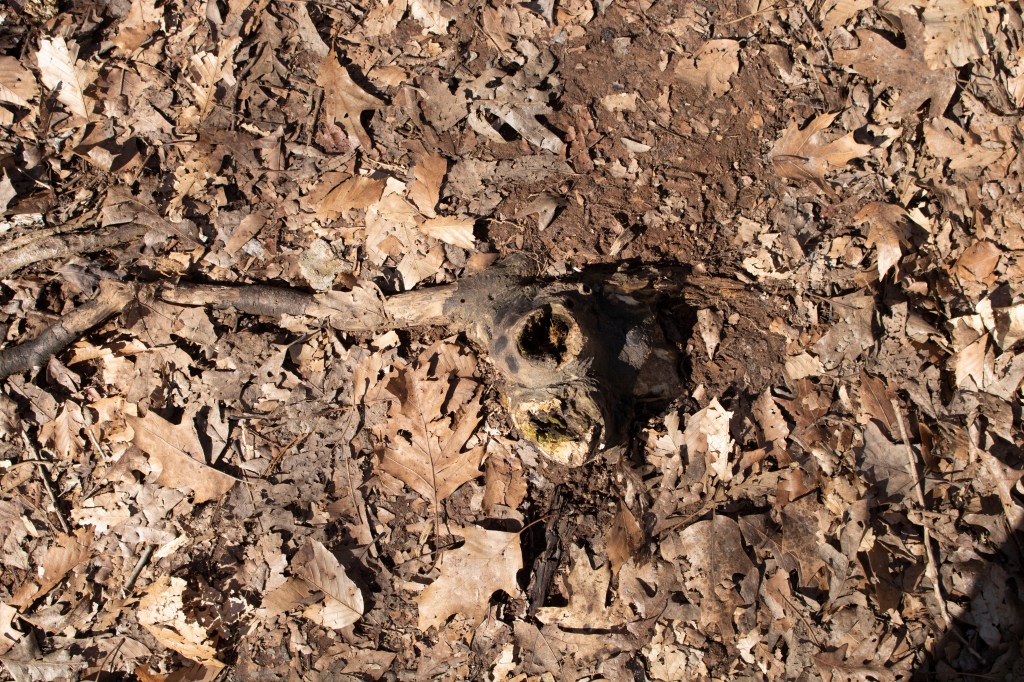
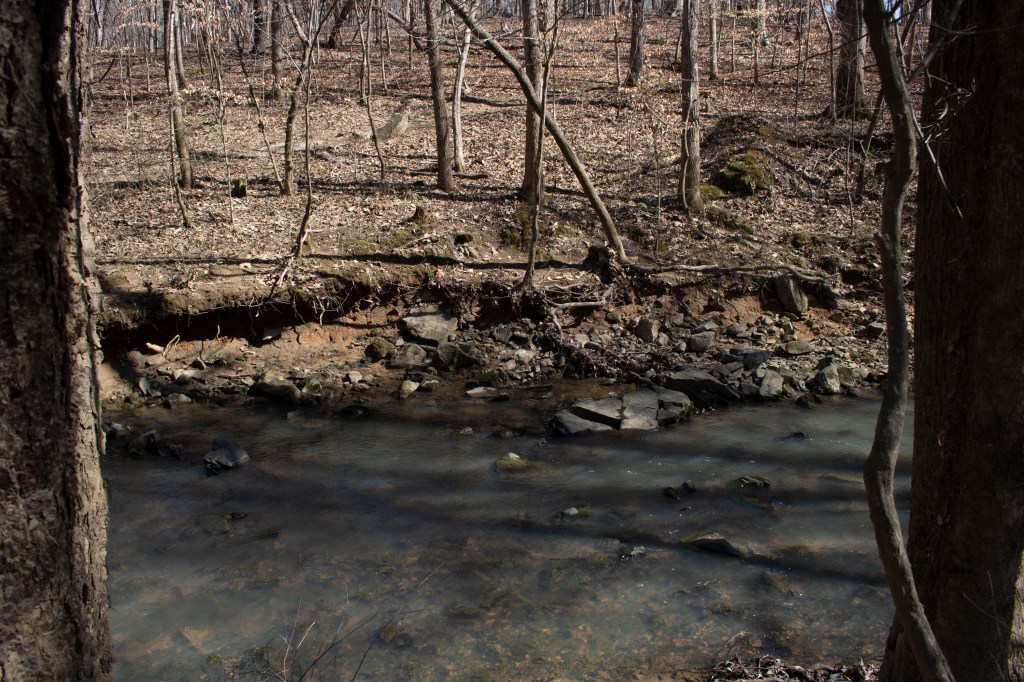
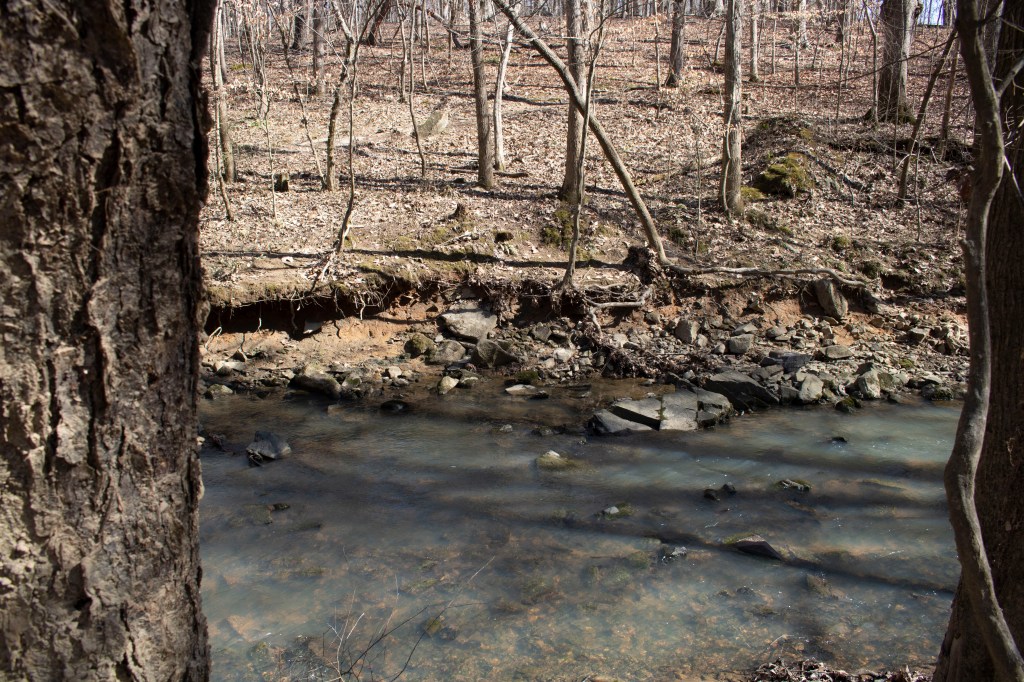
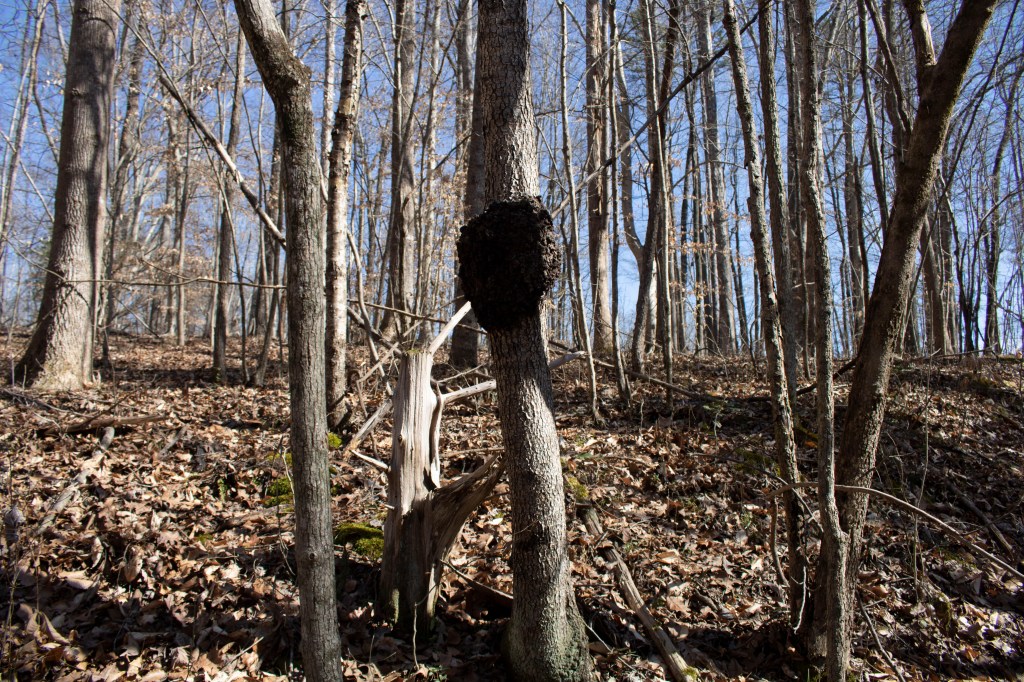
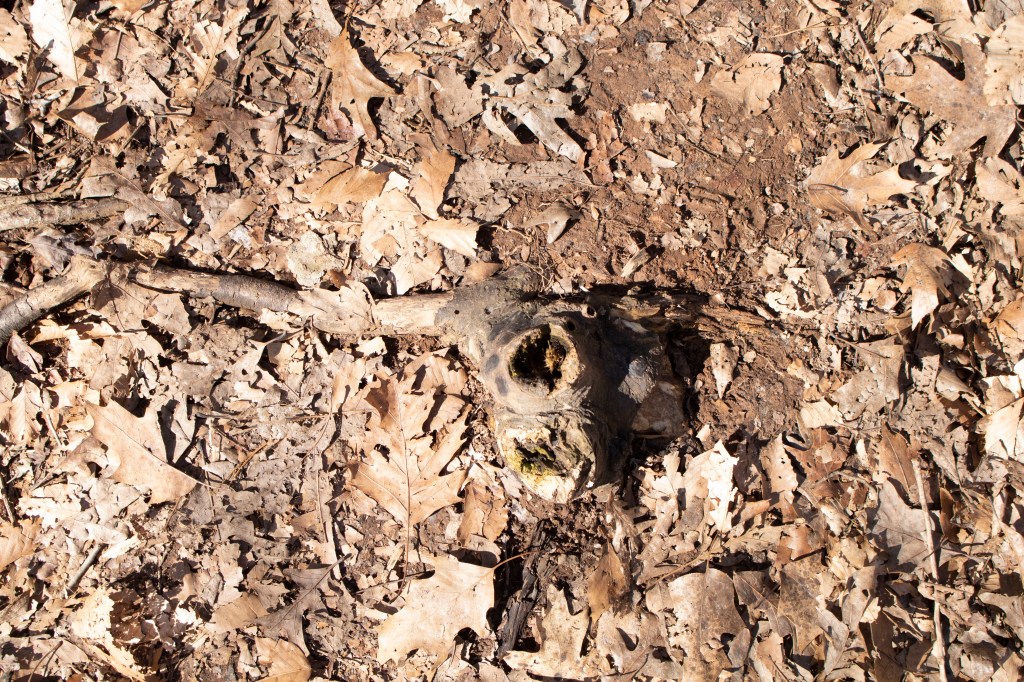
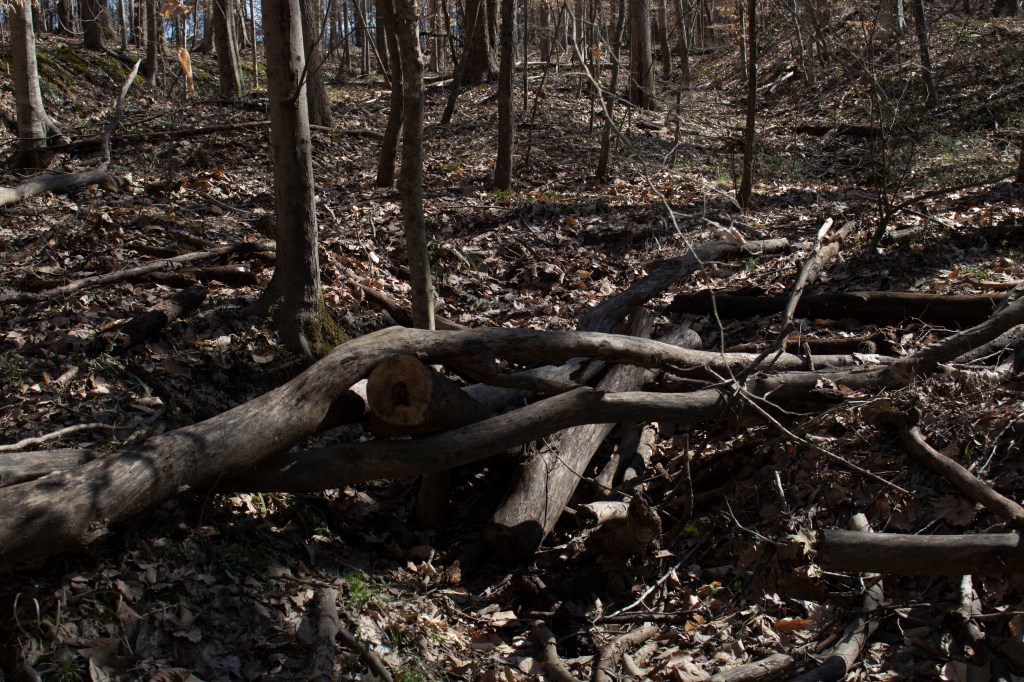
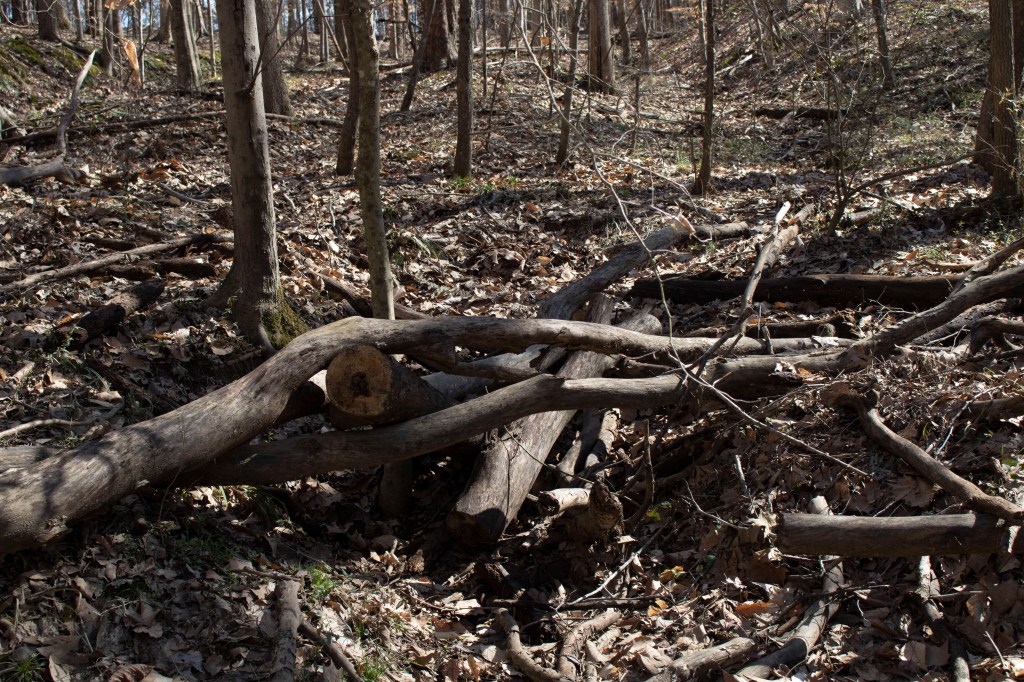
For this picture I adjusted the contrast and exposure while also cropping and transposing the image to make the tree root be in a different position than the original. I adjusted the exposure to make sure that the photo was properly exposed and not too bright for the colors and shadows that are pictured. Lowering the exposure brought more of the natural colors into view and deepened the brown shades. While adjusting the contrast balanced the highlights and shadows to make sure the picture was not too dark.
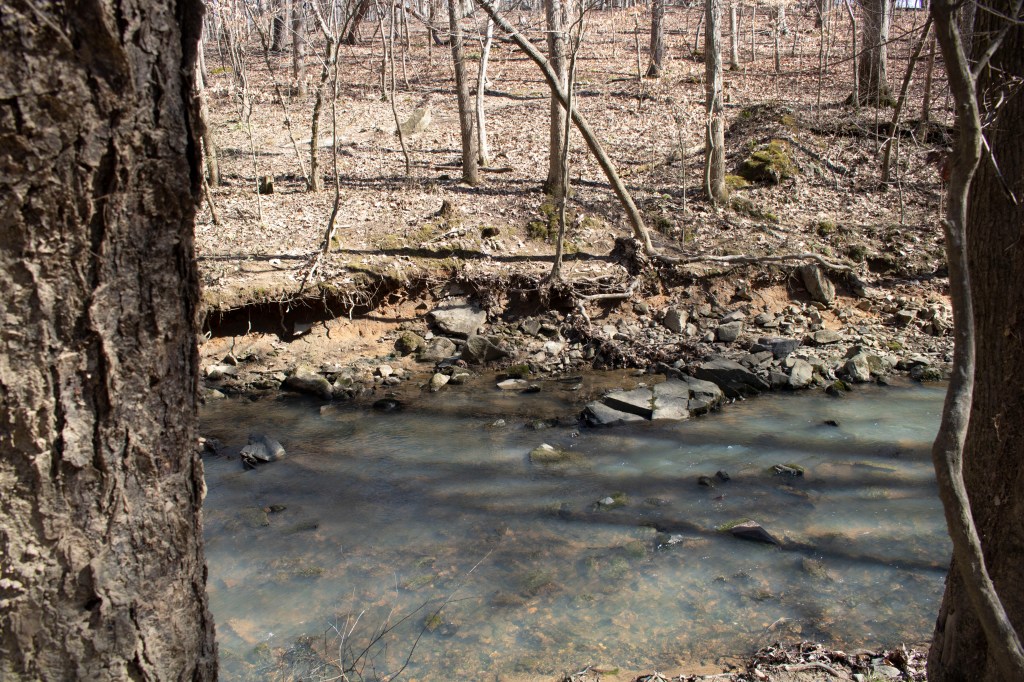
I decided to crop and transpose this picture for personal aesthetic. I thought that the root looked better coming from the right side and having the extra notch on the top. The green moss on the root grabs your attention to the center of the picture which is why i decided to crop it. Cropping it allows the viewer to find focus in the center and eliminates the extra space that I originally pictured around it.
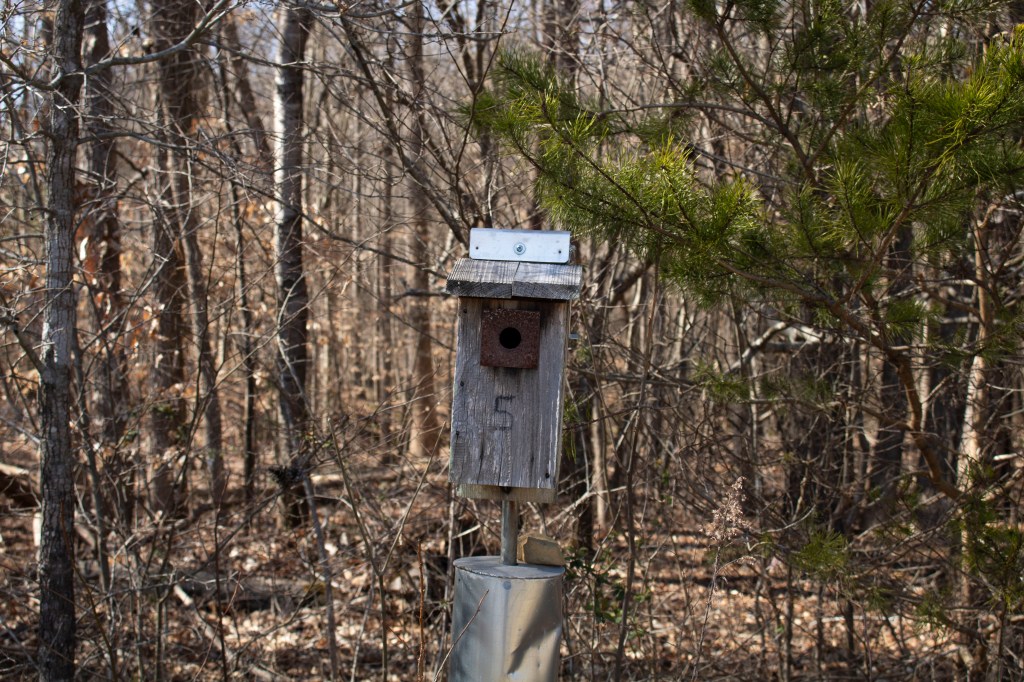
Finally, because this photo is very similar to the 6th image that I edited and uploaded i went about my editing process in a very similar way. I adjusted the highlights, shadows, exposure and contrast of the picture to balance the appearance and make the colors deeper and more natural. When adjusting the highlight i focused on the metal top of the bird house as my center of focus. Using the highlights and exposure to make that stand out then allowed my to make the green in the trees pop as well as the unfocused background of trees. Allowing the color to be crisp in dark and light places so that the entire image was more pigmented than it was originally. Using the shadows and contrast to balance out the changes I made to the exposure and highlights helped show the depth and texture of the woods behind the focus object.
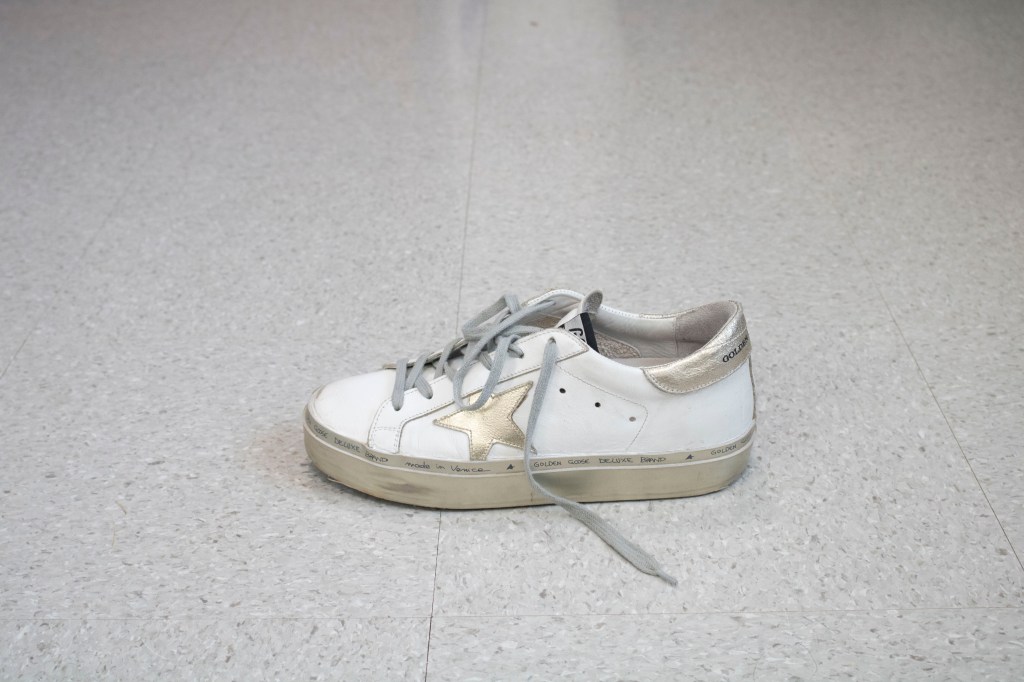
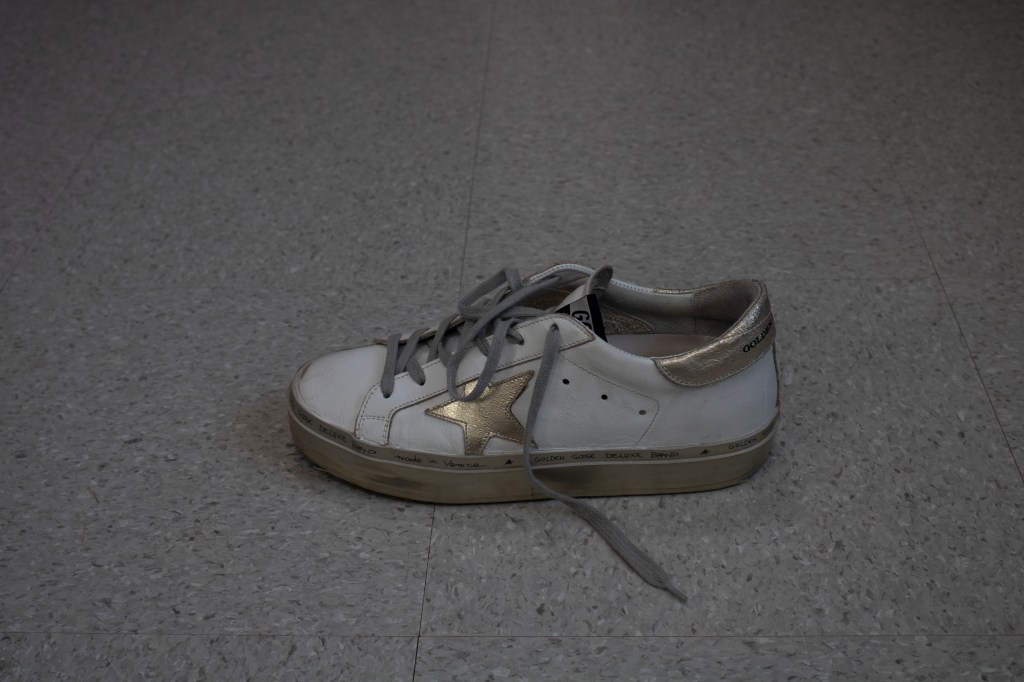
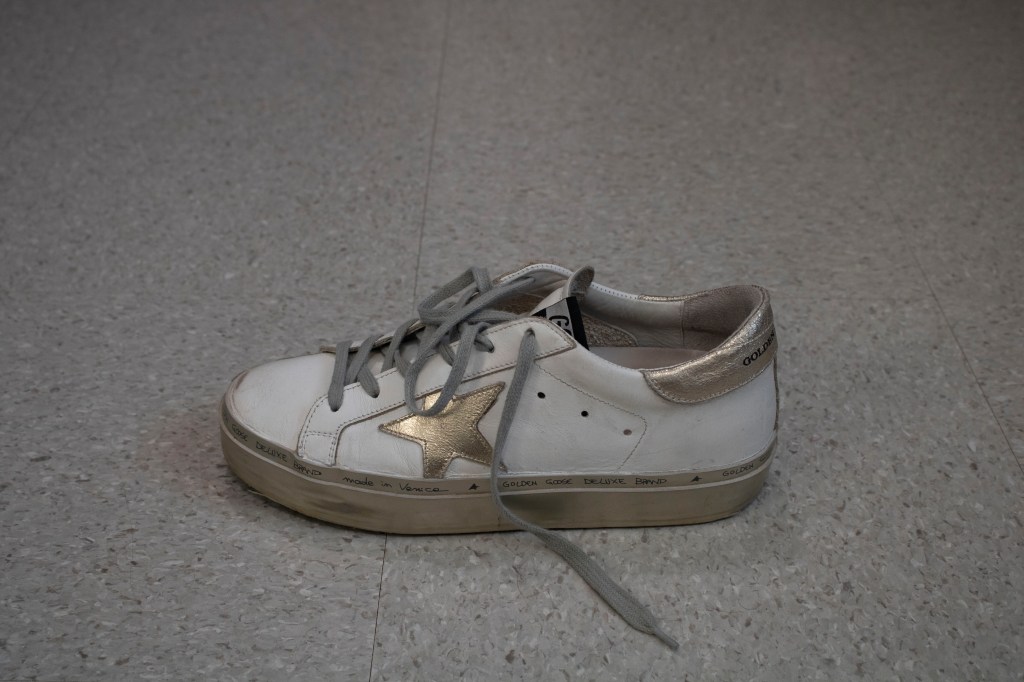
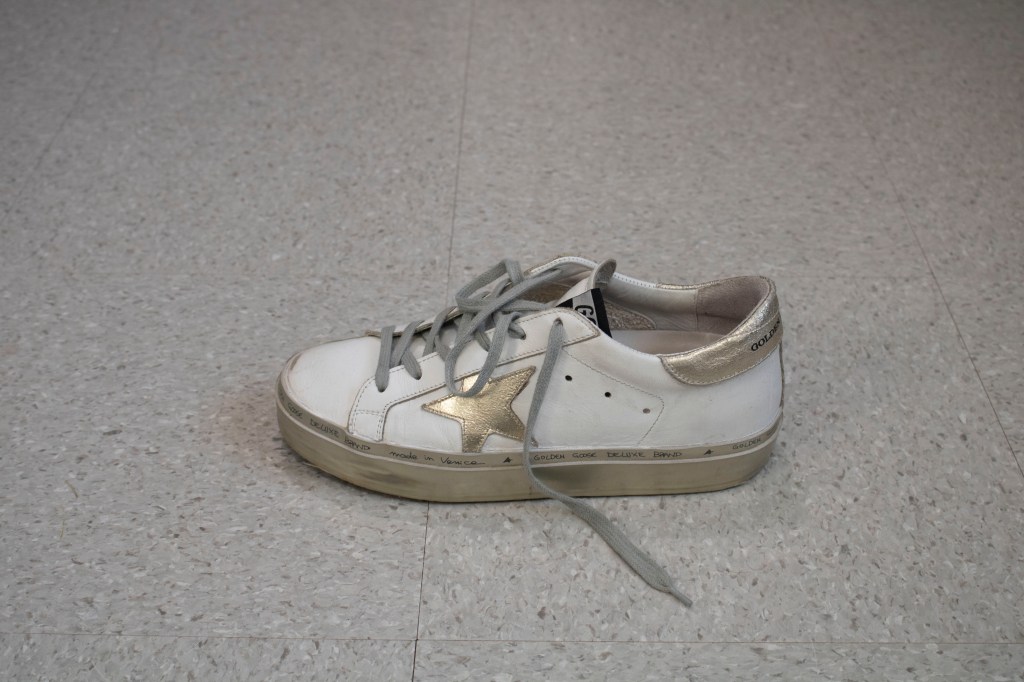
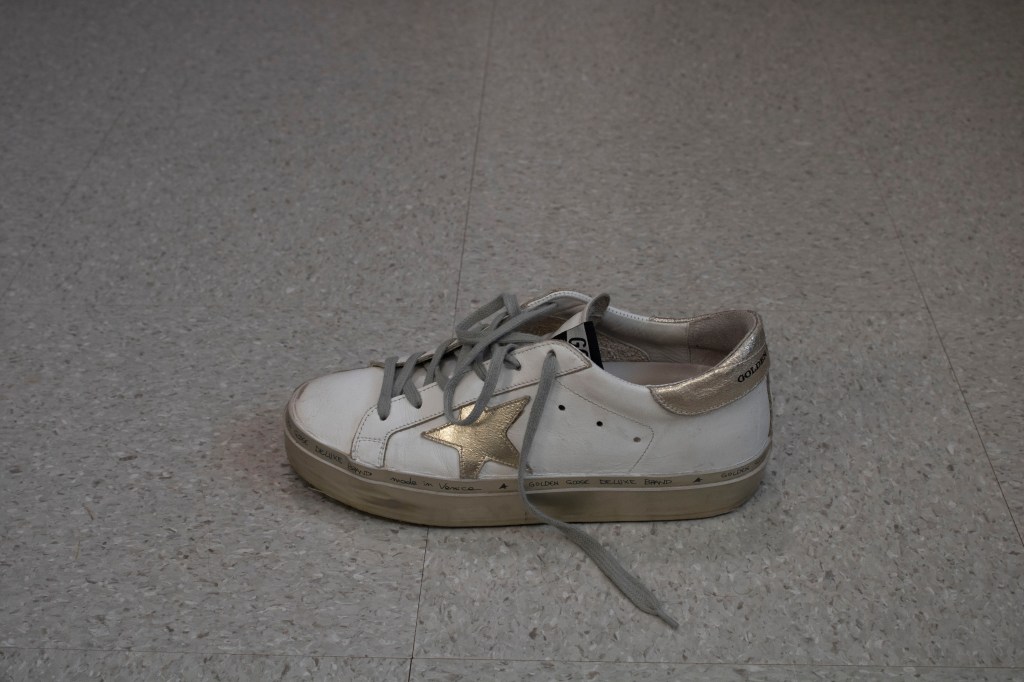
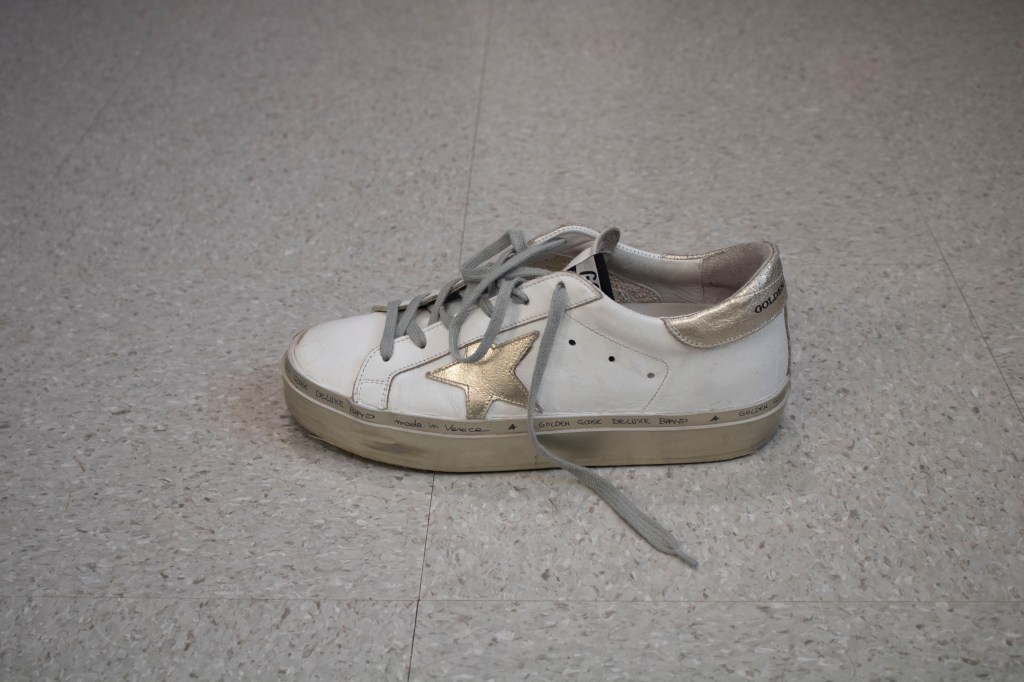
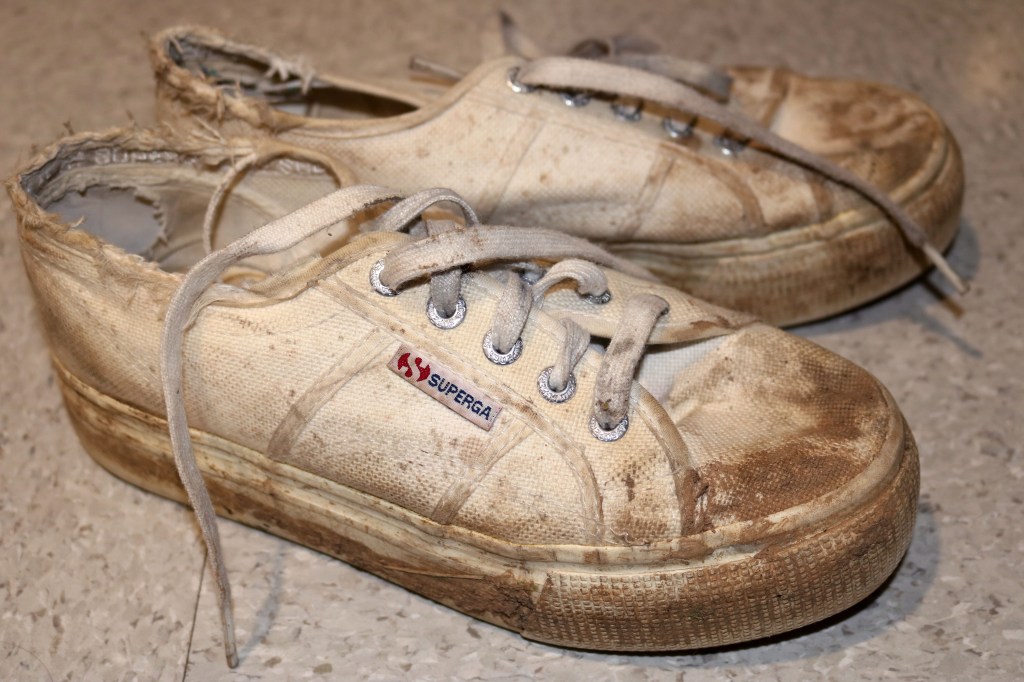
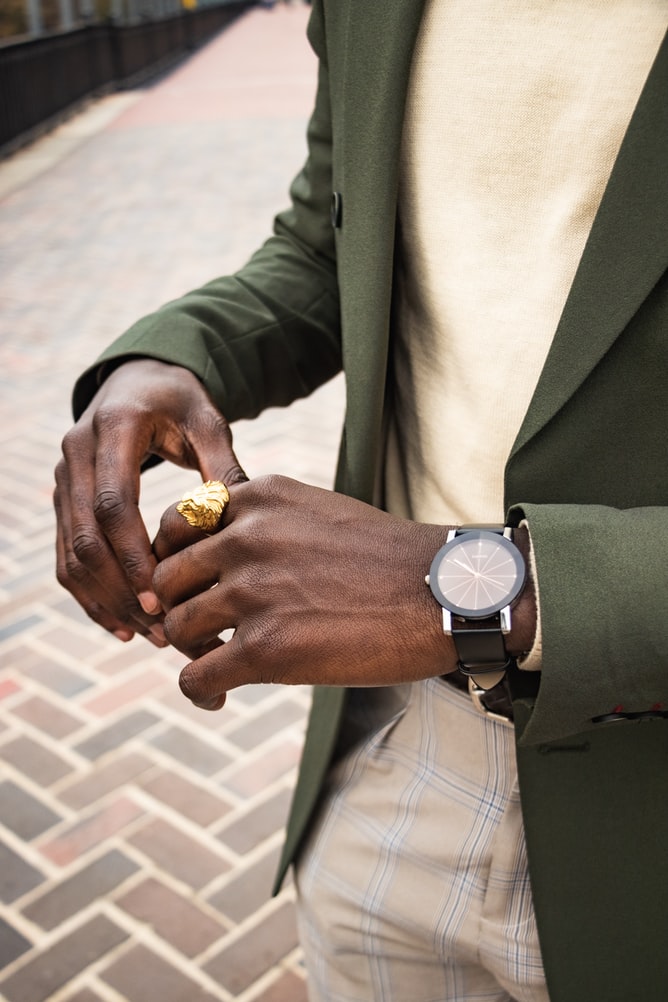
For this assignment each member of the class was asked to choose 5 objects in their possession to photograph. Because we are in college, the objects that I have recognizes as important to me are objects such as sweatshirts, shoes and jewelry. I looked through my room in hopes to find objects that stood out to be considerably important to me that I could photograph.
Top 10 pictures:


I chose these images as my Top 10, because I believe they were the most successful with my manually set ISO, Aperture and shutter speed. I think that these 10 pictures positively portray the environment I captured.
11-20 pictures:
21-30 pictures:
31-40 pictures:
Bottom 10 pictures:

I consider these photos my bottom 10 because they were the least successful in my set of 50. Each of these 10 photos is either over or under exposed, which contributes to the failure of each picture. In order to make these photos better I would’ve have needed to adjust the ISO, aperture or shutter speed to match the lighting in each of these areas.
Bracketing is taking several photos of the same object, but manipulating the ISO, aperture and shutter speed settings to change how it looks. For this assignment we were told how to manipulate the settings for each photo in order to recognize the differences.